Let’s Build a Deck!

Materials I Used to Build a Deck
- Wood
- Nails
- Saw
- String Line
- Nailer
- Wood Tape
- Pro-wood Lumber
How I Chose Materials for the Deck
I’ve personally chosen pro-wood for all of my pressure treated. Needs. They not only have super high standards, but they are also used in the latest technology called MCA where the C stands for copper. I love this because that means that it’s not harmful to plants, people or pets. But it is harmful to microbials that cause rot, or fungi. The treated lumber does come in levels of treatment so choosing lumber can get tricky, but pro-wood has black end tabs that make it easy. Whether you need light duty, ground contact, or something else.
Step 1: Preparing the Deck Posts
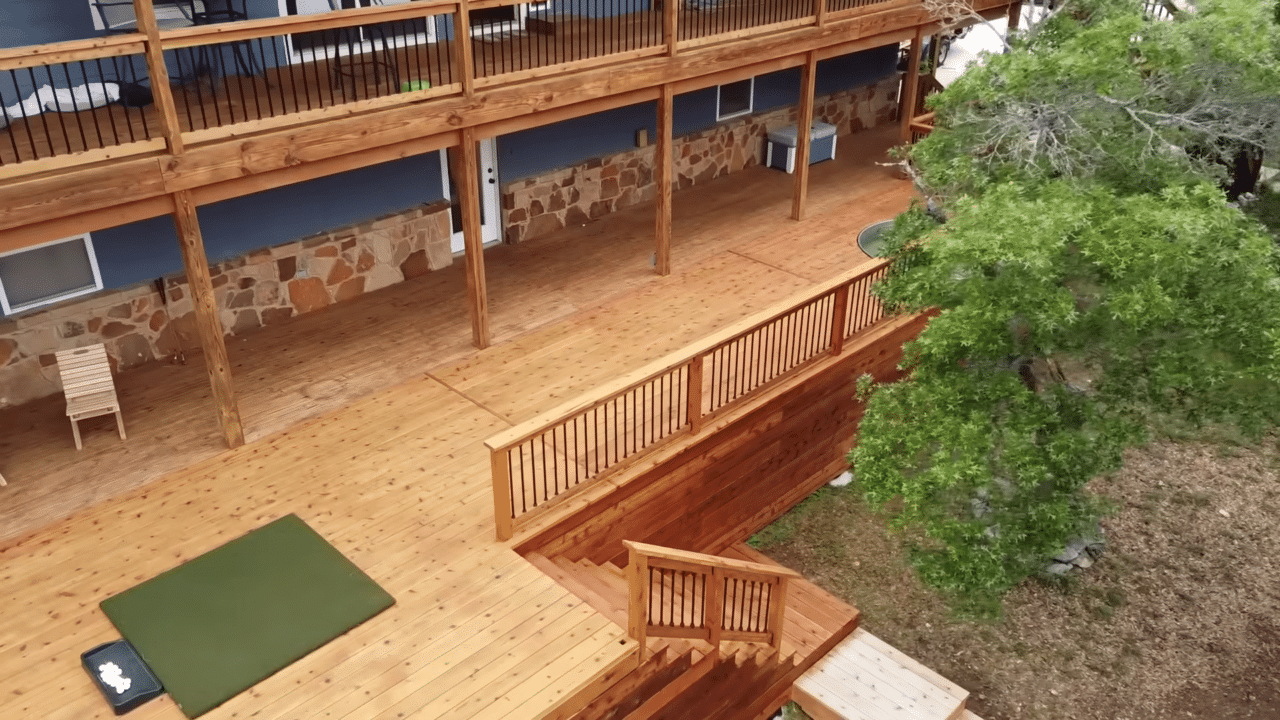
Lets start off with showing you the before shot. Everything here was in pretty decent shape other than the staircase but I’ll get into that later so all I did was remove the railing and refinish what was there that I could start building onto it. The framework for any deck is comprised of four main components: the posts, the beams, the joist, and the deck board. We start with setting the posts. Different areas will have different depth requirements for how deep you have to dig your hole so be sure to check with your code before getting started.
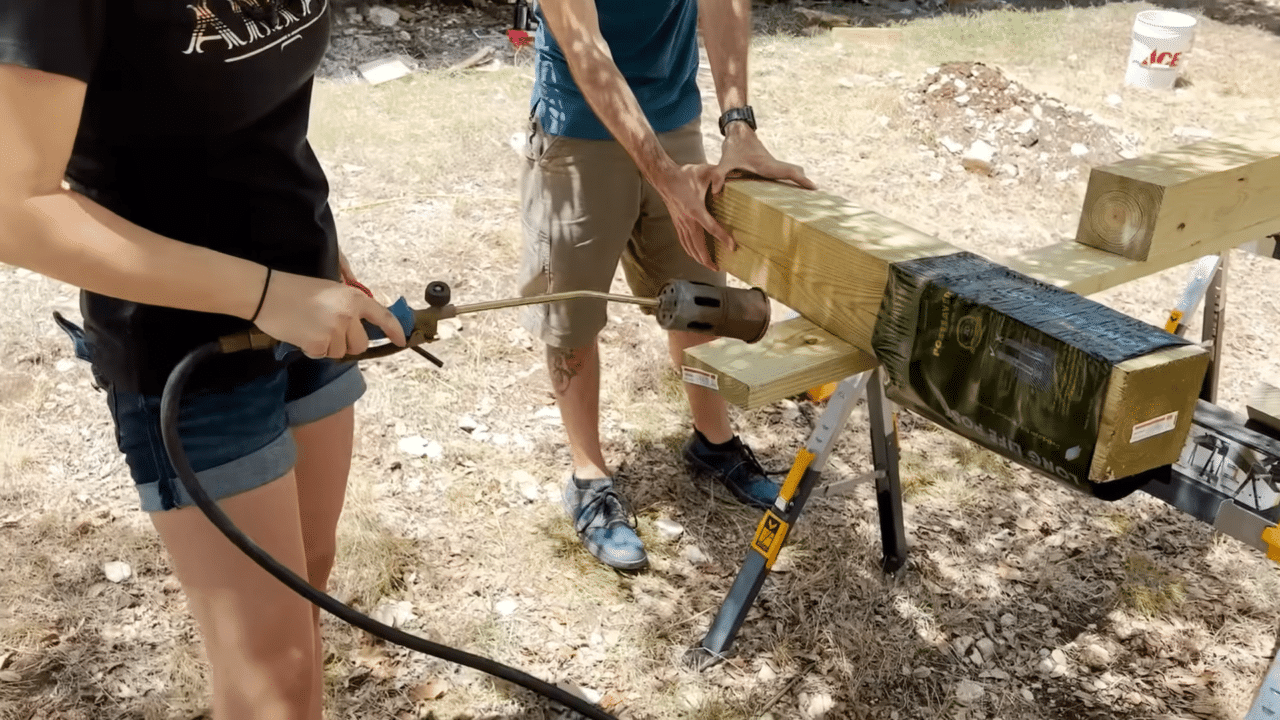
Next I put on a post saver sleeve. I do not put a post in the ground without one of these guys. What you need in order to create rot on a post is moisture and air, and where the post is most susceptible is about two inches above ground level. The line here indicates this goes two inches above where the ground level is and this will protect this zone that I most susceptible to rot.
The inside of it is lined with a tar like feature so that it creates a water and air tight seal to prevent oxygen from having access to the post. The sleeve takes heat to shrink it perfectly to size. I used my propane torch while somebody else turns it. It only takes a few seconds, then I cool it with a roller dipped in water.

Step 2: Pouring Concrete to Secure the Posts
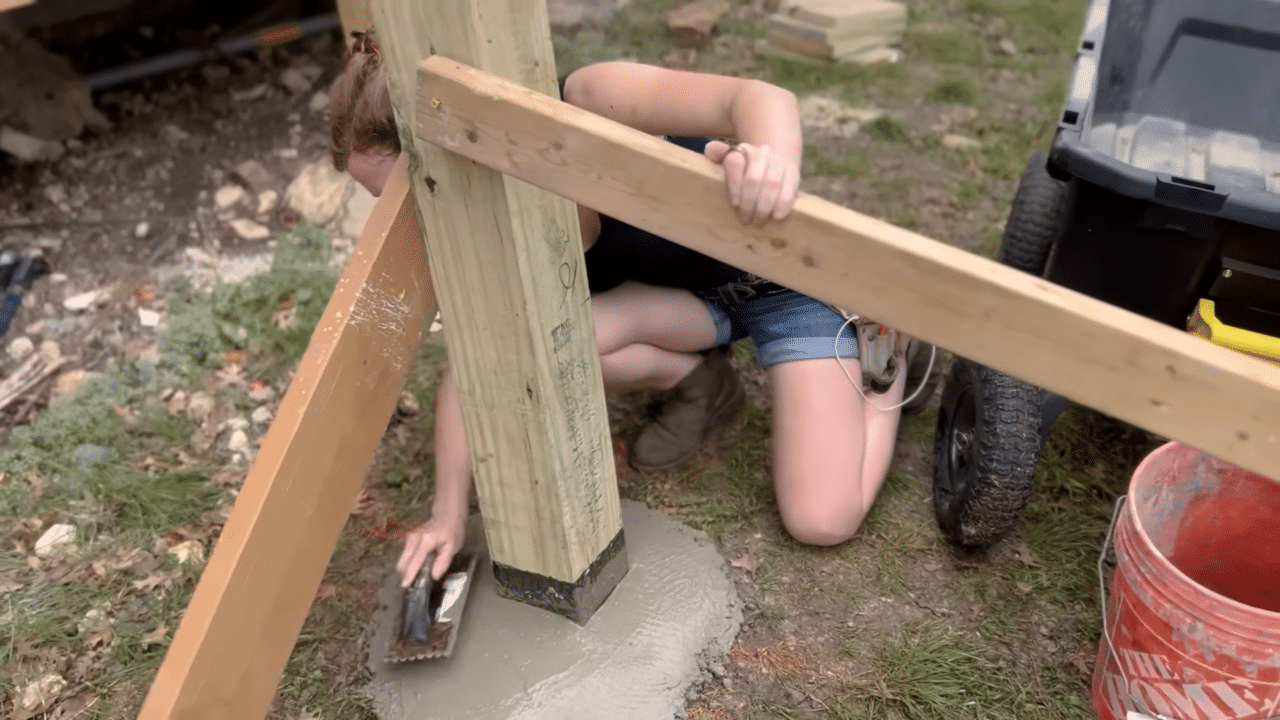
If you have a large job like this one I personally think its worth it to rent mixer so that you can do three bags at a time. Remember to slope the concrete away. You don’t want to create an area that more water can pool.
Let me give you guys a tip on using a string line to set post. A lot of times when you see people pull a string line they pull it and then they try to set the post up right next to the it, the problem is if you end up bumming it too much even sightly with one post you’re gonna knock the string out of alignment. What I recommend instead is moving the string line away from it, in this case its going to be 18 inches so that whenever you set the post you can then pull your tape measure set the tape and hit that mark.
Alright so that is all of the posts set, lets move on to cutting them to height so that we can set the beams.

Step 3: Cutting the Posts to Height
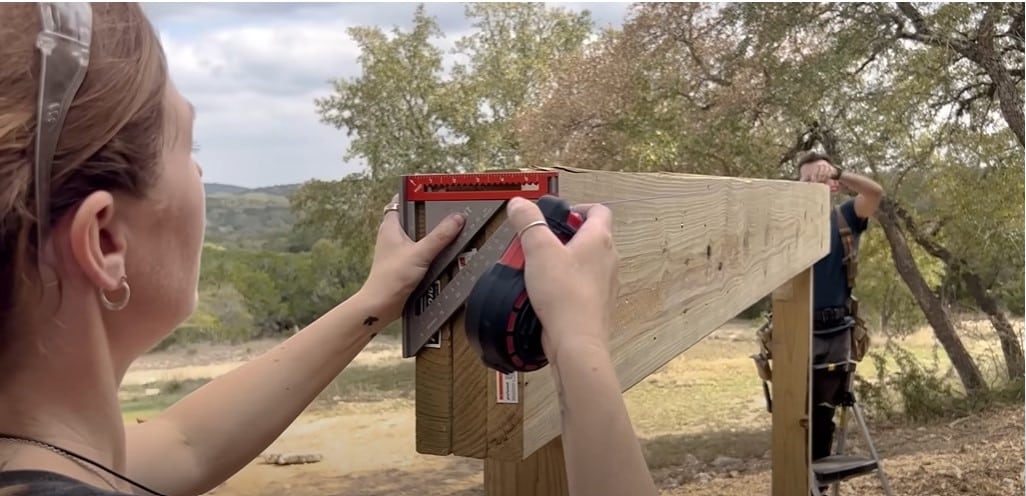
So this line comes from using the laser level on all of the posts. Once you get the face mark now you can translate that around using the speed squarer. My favorite speed squarer to have on site is this crescent one that goes not only from a 6 inch but has a very quick flappable ruler that goes to a 12 in extension.
For all of the framing I’m using pro woods pressure treated wood and more specially for the post I’m using their label that says “for in the ground”. I’ll tell you more about their laboring press later. Jacob is now going through and marking off all of the shoulder locations. These headers are going to be attached to an actual shoulder so that they’re resting on a notch out on these beams so he’s just using a speed square to mark the depth.
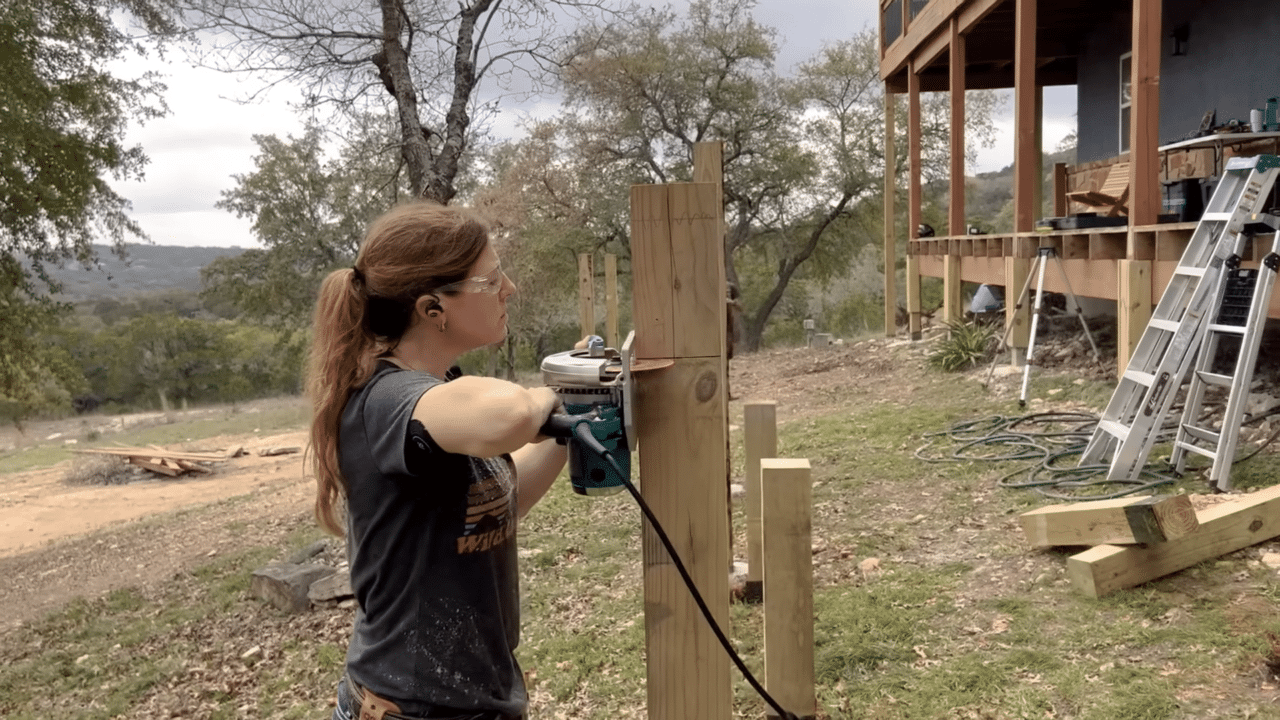
The thing with making these shoulders is that the circular saw is not going to have enough throw in it to do it all in one. You can use the circular saw and set the depth in order to make this face cut to where it doesn’t go past your shoulder, in our case it can be all full depth without going past it but then make all of the cuts around here and as jake is going through doing that, I’ll come back and finish it with the saw. That wraps up cutting in all of the shoulders. The next thing is to cut all the beams to length to set on the shoulders.

Step 4: Setting the Beams
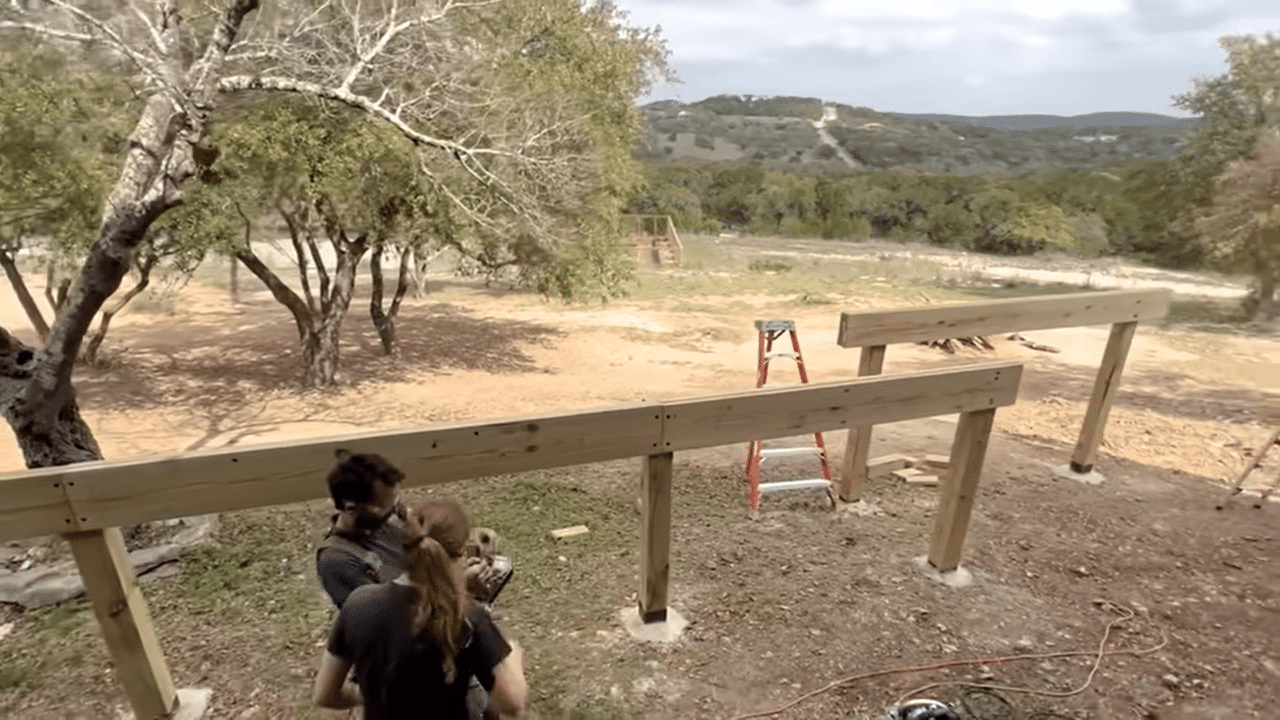
These are already crowned you can go through and crown your board and then whenever you find where the curve is you put an arrow on it so whenever you set these in pkae you can make sure it’s facing up. This one is gonna go halfway on this post. I’m going to come back with screws but for now I’m just gonna pop in a nail.
For the beams I’m using adoubled up 2 by 12. You want thse boards to be as untied as possible for strength so that means sucking them together. I first used three inch spacks power lags to pull the cup out then I came back with a framing nailer to nail it all throughout. This was my first job using the Senco framing nailer and I was very impressed with how rapidly it fired off.
At the end of setting al the beams in place it looks a little something like this.

Step 5: Mounting the Joists
The next step is to set the joist. Often you see joist go in hangers and are mounted on the face of the beam, but in this case they will be mounted to the top which first means I need to go through and flatten the top of the beam. A chalk line comes in handy to give a visual on the high points. Next I used an electric planer to flatten the top. Since the job site was sloped the lowest beam was pretty easy, the middle section as a shoulder workout, but the far beam was way too above my head.
Tip: if you don’t have planer than another option would be to use a fence or a circular saw to make the top perfectly flat
Step 6: Setting the Joists
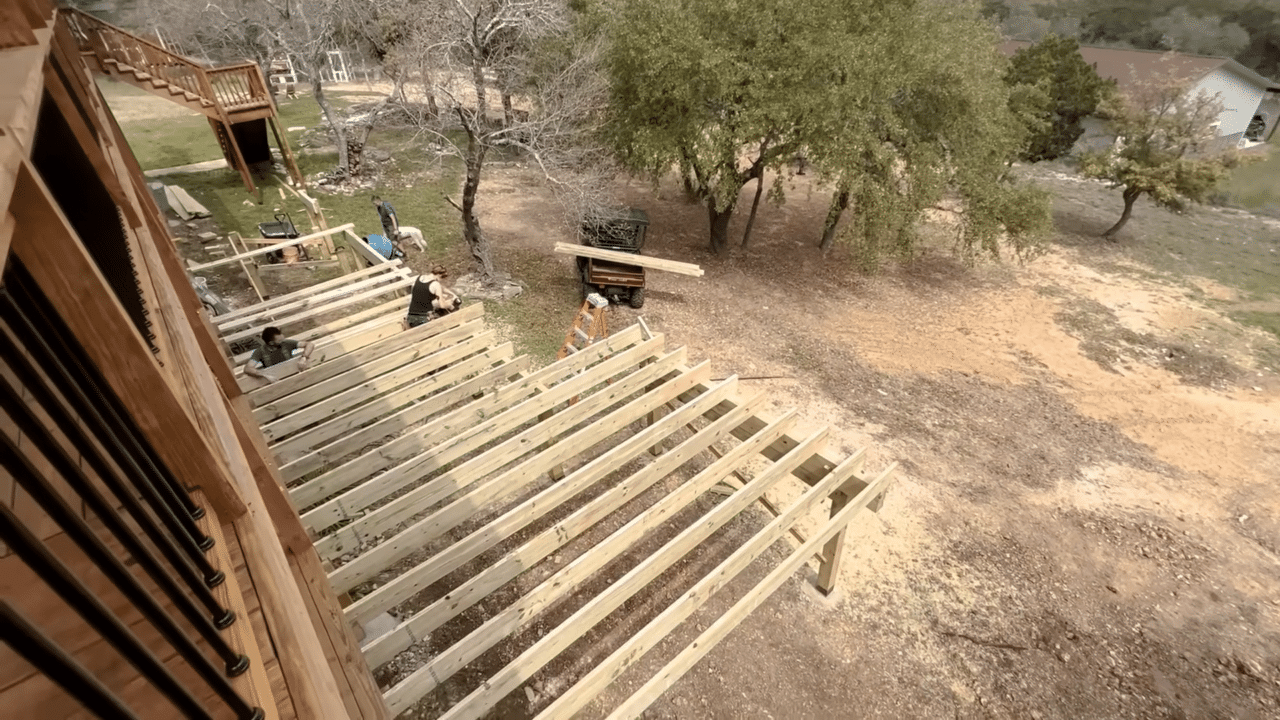
Lets start with the third major framing component: setting the joist. At the very beginning I ended up demoing the rim joist that use to be here so that we could have access to the joist from the existing deck and sister on these boards to them instead of going with joist hangers on the rim joists. By doing it this way, we’re not gonna have to cut to height each board, we’re just let it run wild into there, but we do have to notch it to get a 2 by 10 made up to this 2 by 8. On the opposite side, Jacob just set it right on top of it and this should come out level.
Whenever you’re deciding how many joist you want you can do either 24 inch centers, 16 inch centers, and you can play with doing 2 by 8s or 2 by 10s. actually with using 2 by 8s and 2 by 10s I could’ve gone to 24 inch centers but I made a decision to go with 16 in order to not make it so spongy feeling. The cost is very little difference so I would recommend sticking with 16s.
The complication here is making sure what we’re doing is going on square to the other surface, so we’re actually going to hop to the last one so that we can then pull diagonals and make sure the structure we are putting in is square. So out at the beams, I’m gonna have to toenail in the joist.
Tip: take off the tip of your nail gun This is really good whenever you’re in bump mode or nailing on flat but if you’re gonna be toe nailing and you’re going to take this off, they give you spikes in order to go in at an angle without it moving around on you.
The two measurements that I’m really paying attention to here in that these tails are the exact length apart and then that these are on 16 in center.

Step 7: Day two! Finishing Setting the Joist by Spacing them Evenly
So whenever setting joist, at the very last step you should attached a rim joist that connects the tails of each one. Its important to get the overhang of each joist as exact with each other as possible. So whenever measuring these 16 on center you never wanna go from the top because they’re not secured there, so you want to go from the bottom and then what I love about this tape is it has the numbers on both sides that makes measuring from the bottom very simple.

Step 8: Taping the Joist
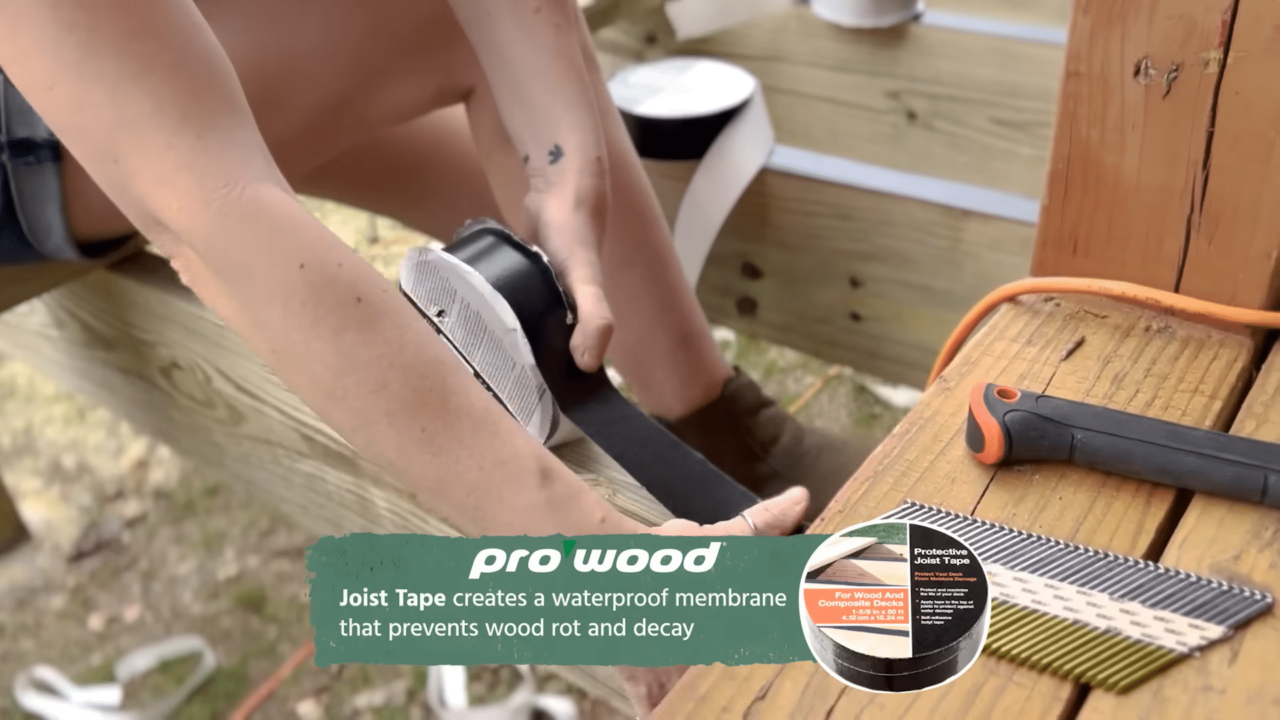
Before doing anything else I want to do the joist taping which will drastically prolong the life of the boards. The tricky thing about my particular situation is the ground is so uneven I would have to move the ladder five or six times per joist, to prevent that I ended up doing some sort of leap frog activity where I used two 2 by 8s as seats and then just alternated them a little bit as a I worked my way back with four or five pieces of tape at a time. I’d progress the first two feet, move my board back then move my board back and progress the next two feet until I got to the end.
Now on this joist tape you do want to wrap it around the end and cover up the end grain which is where the wood actually absorbs the moisture.

Step 9: Completing the Deck Frame by Adding a Rim Joist
As Cindy and I were tackling the joist taping, Jacob was finishing off the last of the framing members for the pool. This is the only portion of the deck that includes joist hangers. For this we are using a Senco Nailer made specifically for joist hanging.
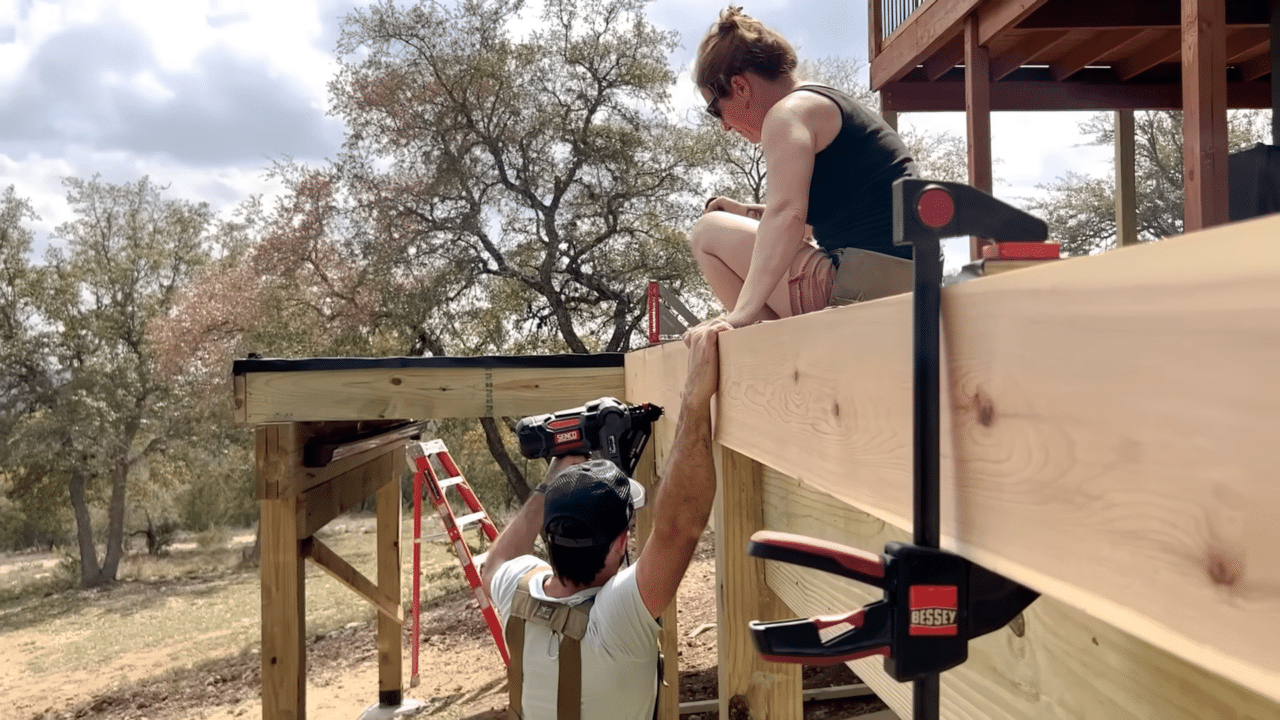
The last thing we do to conclude framing is add on the rim joist. This it the board that will tie all the tails of the joist together. Another important thing it does it plumb the joist. With the joist you always start with the board on one end and progress to the other end of the joist one at a time. As you go one person should be making sure that the top of the rim joist is not only flush to the top of the joist but that the joist is also at a ninety so that it can be nailed at the top and the bottom. It’s easiest with two people on this job.
I check with a speed squarer to ensure it is flush and will push or pull it if it isn’t. If the joist is twisted then I use a crescent hammer with a spur on it to grab the joist and use leverage to twist it straight while tell Jacob “top” so he knows he can stick it.

Deck Framing Completed!
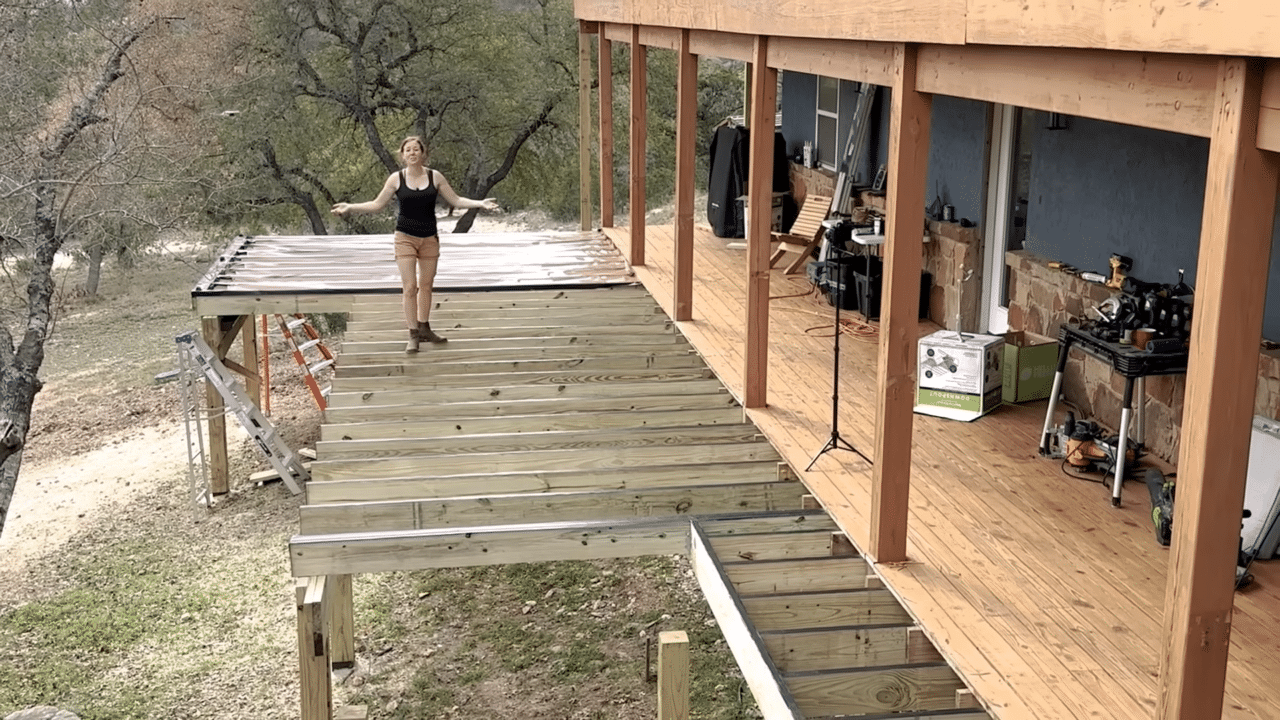

And that is going to wrap up the first video of the deck series. I really hope you enjoyed it as much as I enjoyed building it. But stayed tuned because I have plenty more deck to build and I’ll be bringing you along on the entire journey. In the mean time, feel free to check out my website for tons of project plans and templates. Until next time!


