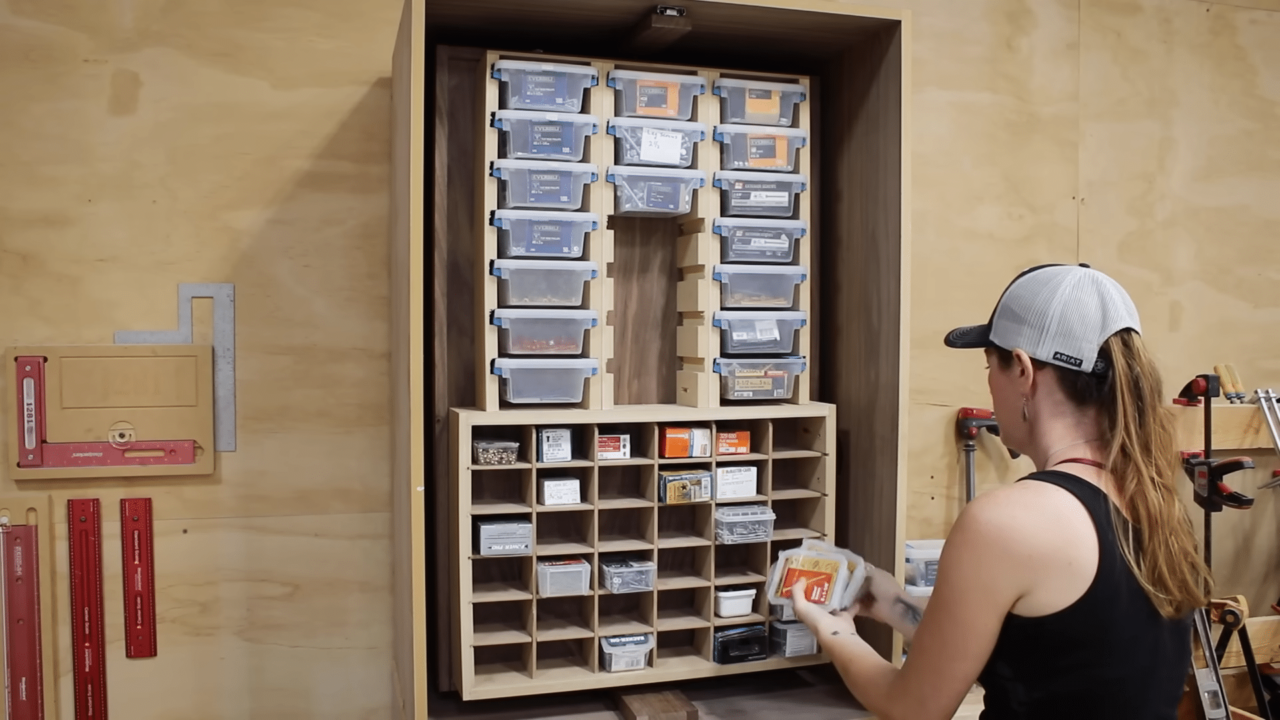
Let’s Build a Rotating Shelf
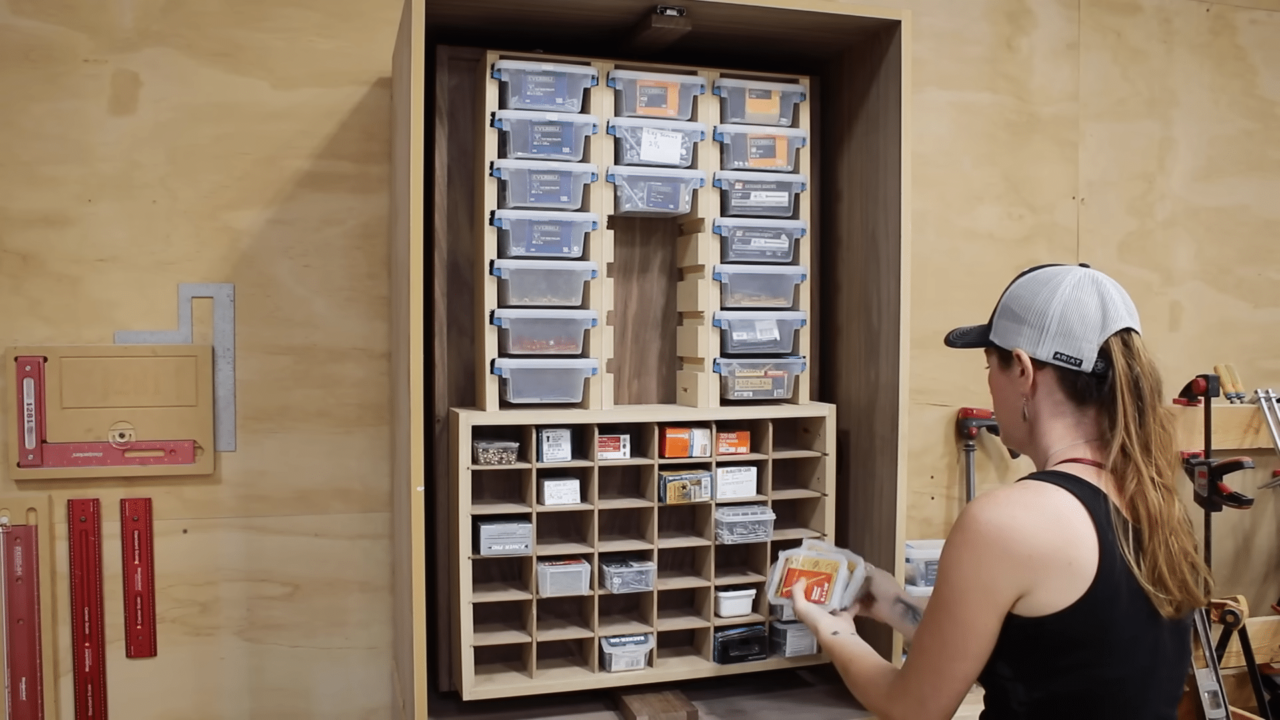

This rotating shelf is awesome! I love how it helps me keep my shop functional but also saves me some space.
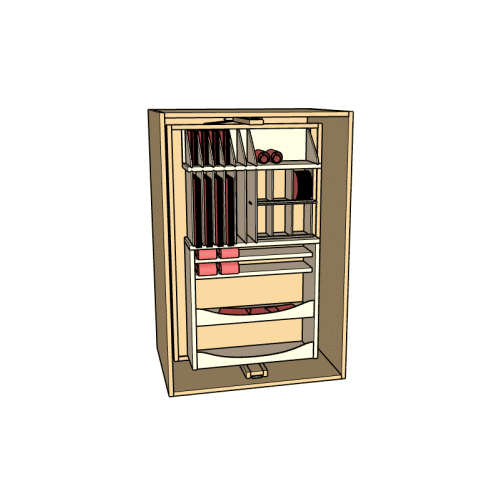

DIY Flip Around Shelf Plans
$9.99
I’ve created a set of rotating shelf plans that will help you take on this build.
Materials I Used On This Build
Step 1: Prepare the wood by pre-drilling
Lets start off with a piece of plywood. This will make up the wall that will hold the shelves and rotate around. I have a ton of walnut scraps around so that made my choice but know you can use any 3/4” stuff.
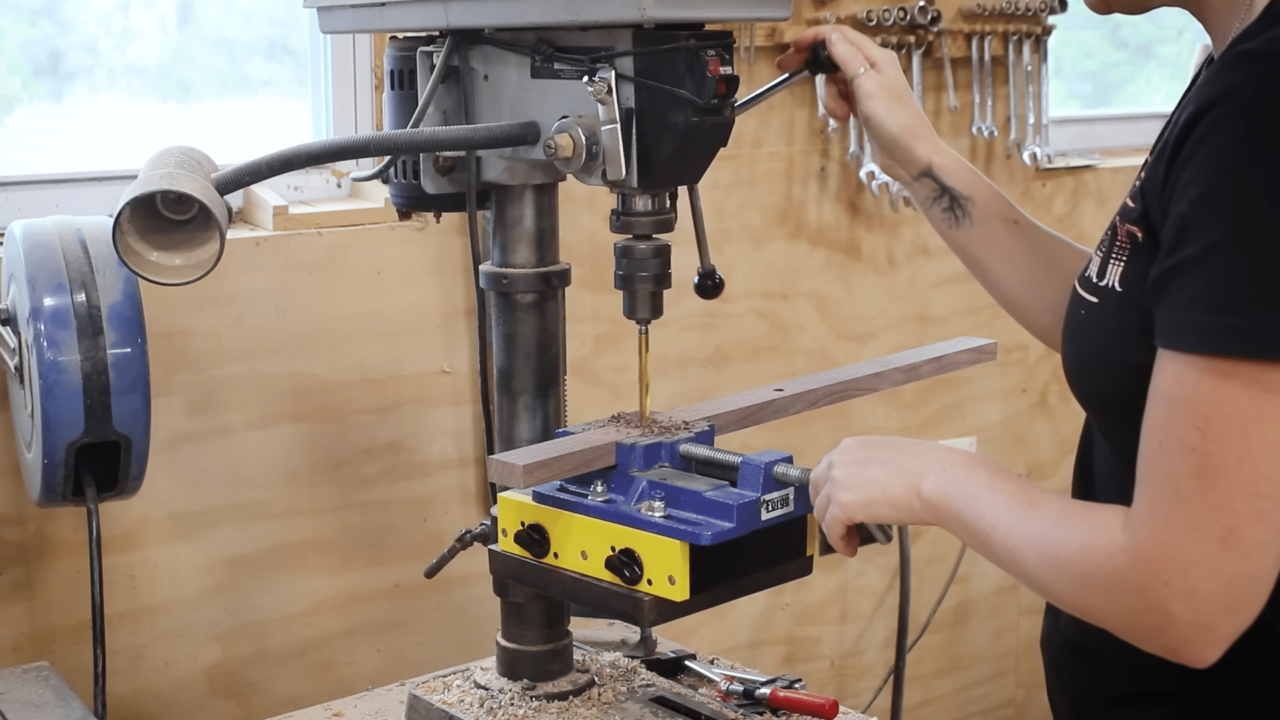
Ok next is to drill some holes in what will be the top and bottom framing members. Actually there are a few parts that require a few different holes in it. I took those parts to the drill press and did them all at once. Some counterboring, some through holes. If you would like exact dimensions and specs for this unit, I have a set of plans with all the details over on my website.
This is one of my favorite new things in the shop. Instead of having to clamp my bench vise down to the drill press table which is always a pain, this base has four knobs that activate or deactivate magnets. It makes adjusting parts a breeze.
A tip for you: this part will end up being on about this long but I left it longer to make it easier to hold onto while drilling for the holes.

Step 2: Putting a threaded insert into the left and right parts of the shelf
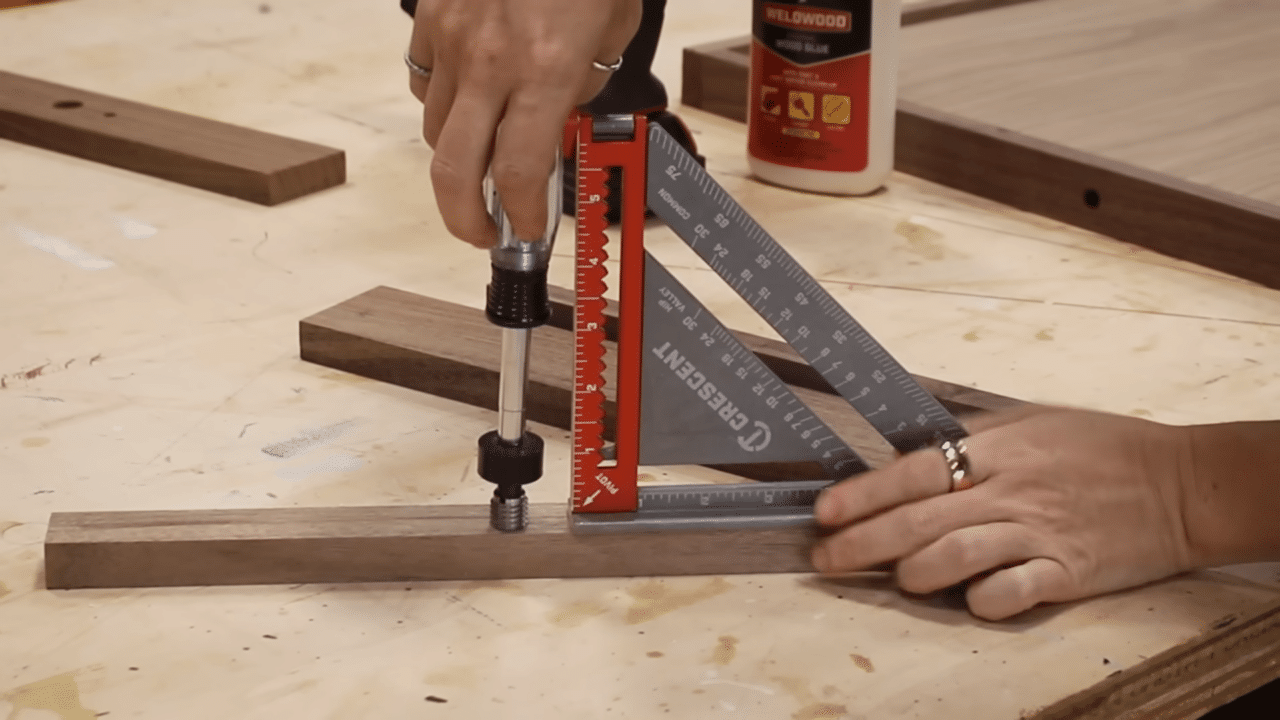
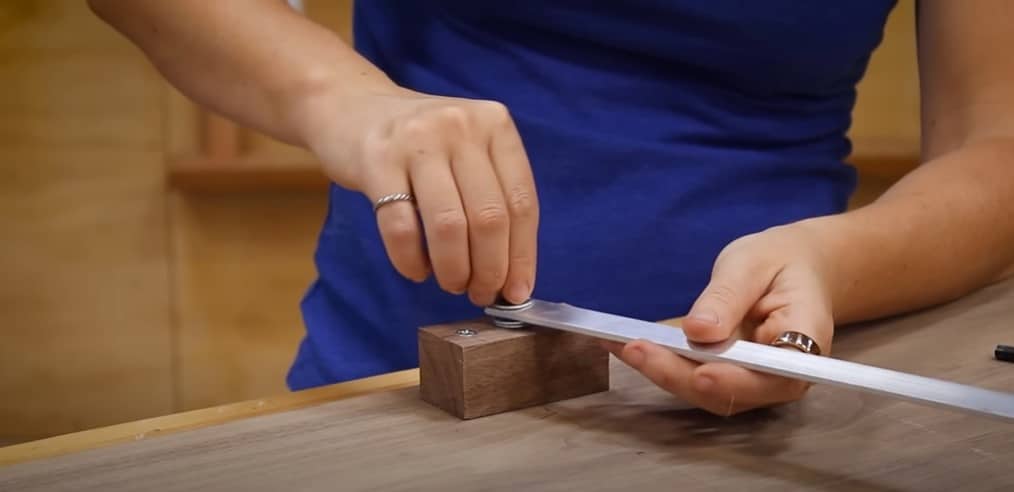
These three pieces will make up an assembly but first I want to take the left and right part and put in a threaded insert, one of these here. It’s important for it to go in as straight as possible so I thread on a wheel that will later connect to it because on the top is an insert for an Allen wrench. This gives me a way to use a screw driver to start the insert and turn it. I used a speed square to keep an eye on my alignment as I started it.
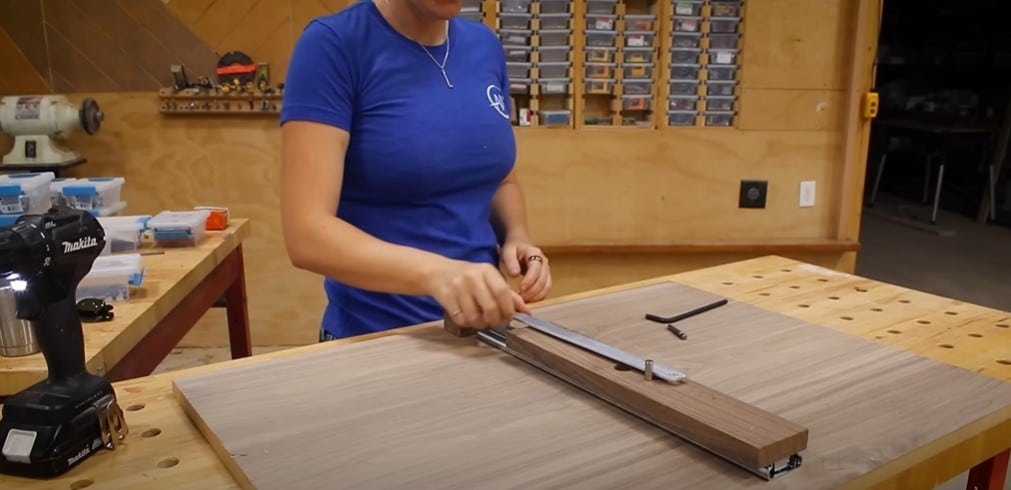
Once it’s grabbed a few threads into the wood, then the speed square can be tossed aside. There still came a point where my strength wasn’t enough to continue turning it so I put a washer into some pliers to finish, turning the plier handles horizontal so I can use leverage to crank it around. With that finished I can finish attaching the rest of the components including a pin that will work as a pivot point and a drawer slide.

Step 3: Creating the sliding piece for the top of the rotating shelf
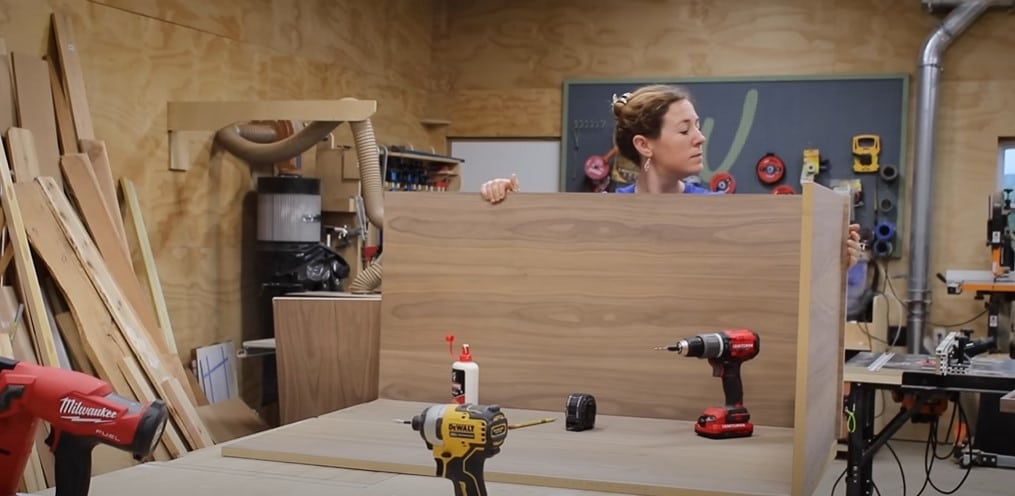
Ok now I repeat to make something similar for the top of the rotating shelf. This one has a few less parts but it still needs the pivot point pin, then a drawer slide attached to the backside. Now I have two crawly things that will make sense in just a few mins. For right now, I set them aside and started building a box. This is simple construction with wood glue, a predrill, and a few screws to hold things together.
I started by attaching the bottom, then added the first side, then rotated it around to attach the second side. I slide it to the edge of my workbench so it won’t interfere with my drill as I’m pre drilling.

Step 4: Making the top and attaching it to the base
For now I’m going to leave off the top. I still need to make the top. This is that short piece I drilled holes in earlier and to make sure I got both lined up with my marks, I went ahead and ran in two screws so the point was sticking out. This way I could set them in my predrill spots and know it was lined up straight without having to measure. The center hole can get a threaded insert so that I have a way to attach this aluminum piece that will be a swing arm. I know this is looking a little crazy, but it should make sense in the next step.

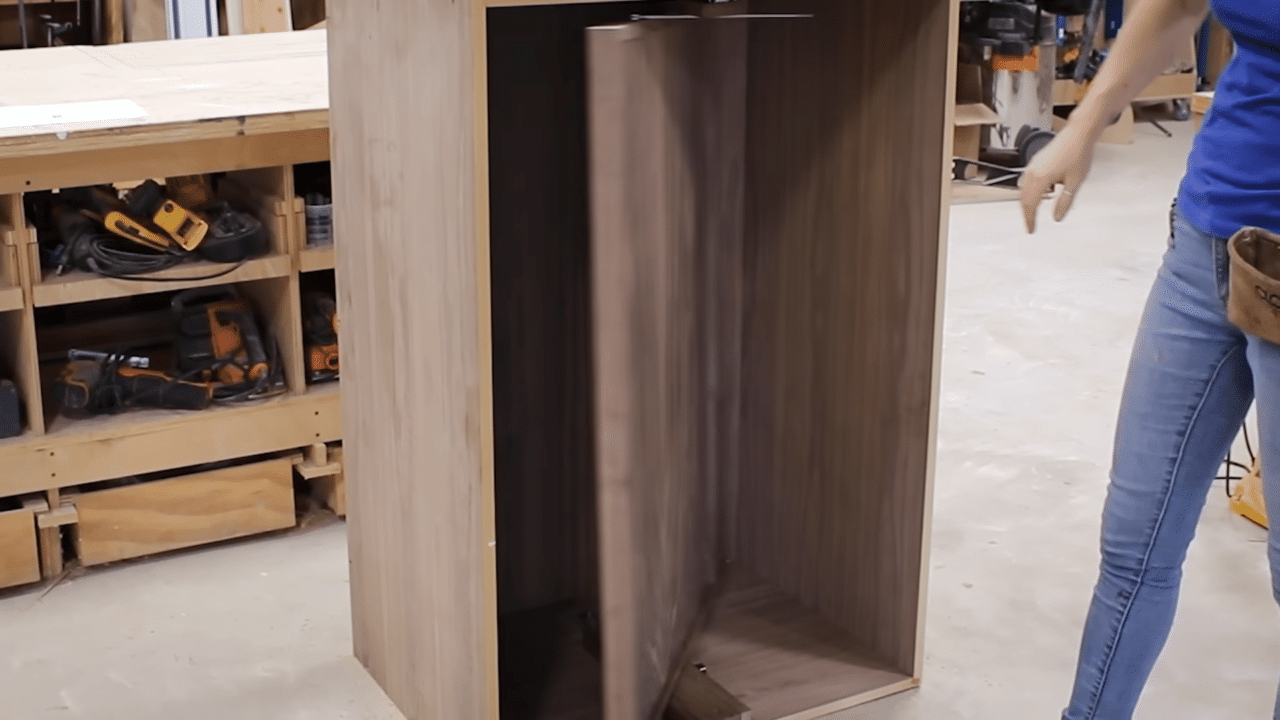
With the top made up, I can go ahead and attach it. I first stood up the piece that will hold the shelf and set it on the bottom pivot point. I precariously left it leaning on the box body while I went and grabbed the top. Now I can set this part on the top pivot point. I’m leaving off the wood glue on the part just incase I need to get back in here to make adjustments.

At this point, I’m still not sure if it was going to work or not. So just a few pre drills and screws to set the top in place. However, instead of the final product just spinning freely in a circle, it will actually just flip like this from one side then to the other, then back again. To do that, I tilted the center shelf so that I could crawl inside slightly and attach those swing arms I made earlier. There is one I snaked my arm in to attach at the bottom, then also the same at the top.

Step 5: Hanging the rotating shelf!
Now I originally intended to hang the rotating shelf on a few studs up on my wall so that it’s at a comfortable height, but then I saw my plumb toolbox and figured I would use it to set the unit right on top of! But know that hanging it is certainly an option.
Ok, now what to store on it?! The great thing about it being a bare center wall is you can custom design any shelving unit to hold whatever it is you personally want to store, whether it be shoes or towels for the house, or hardware and sandpaper for the shop! That’s what I’m going to use mine for. I used the CNCs to cut out some custom shelving that would allow me to take this big pile of mess and instead organize it.
Other Thing I Used In This Rotating Shelf Build
