


The satisfying fizz of a homemade bath bomb can quickly turn into a frustrating fizzle when things go wrong. From crumbling creations to premature activation, DIY bath bomb makers often face a bubbling cauldron of challenges. But fear not, aspiring alchemists of the bathroom! With the right knowledge and techniques, you can transform your bath bomb disasters into dazzling success stories.
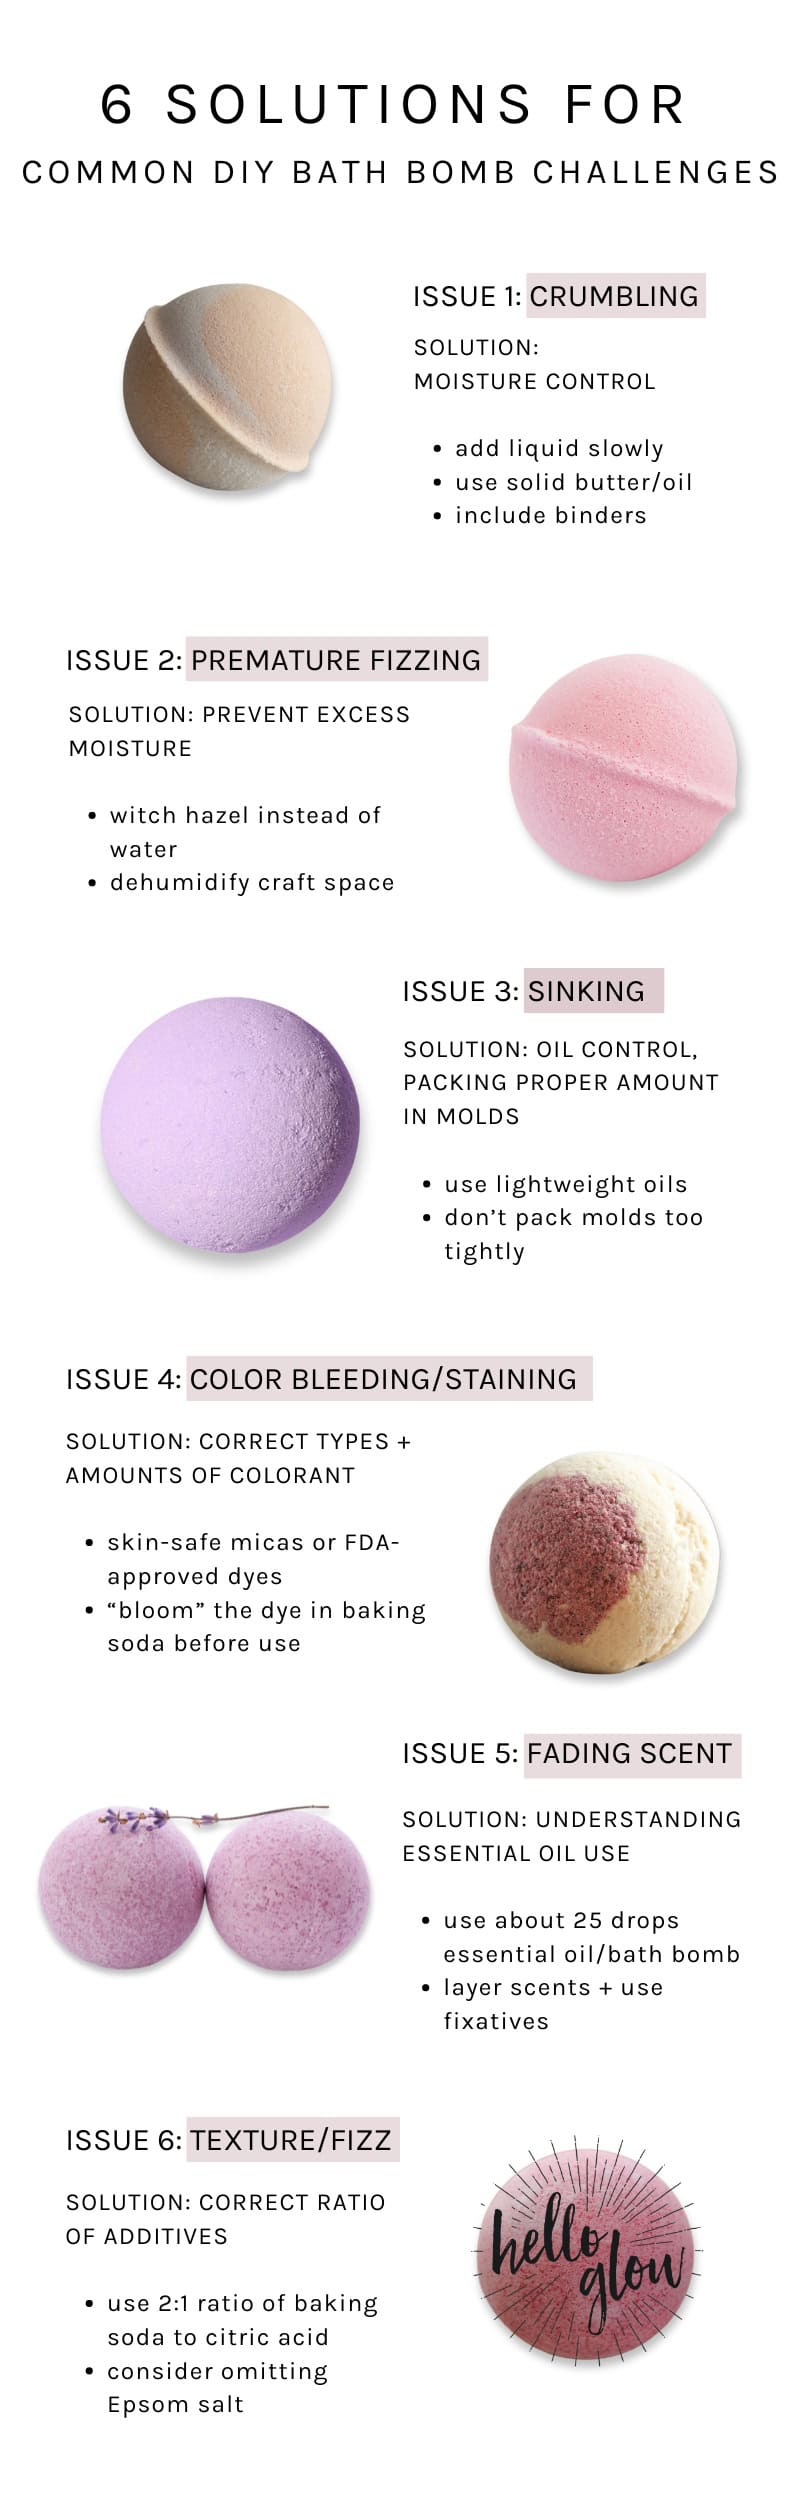
1. Crumbling Bath Bombs: The Moisture Dilemma
Causes of Crumbling
One of the most common issues bath bomb creators face is the dreaded crumble. You’ve carefully crafted your spherical masterpiece, only to find it falling apart at the slightest touch. This frustrating problem often stems from insufficient moisture in the mixture or incorrect ratios of dry ingredients.
Solutions for Sturdy Bath Bombs
To combat crumbling, mastering the art of moisture control is key.
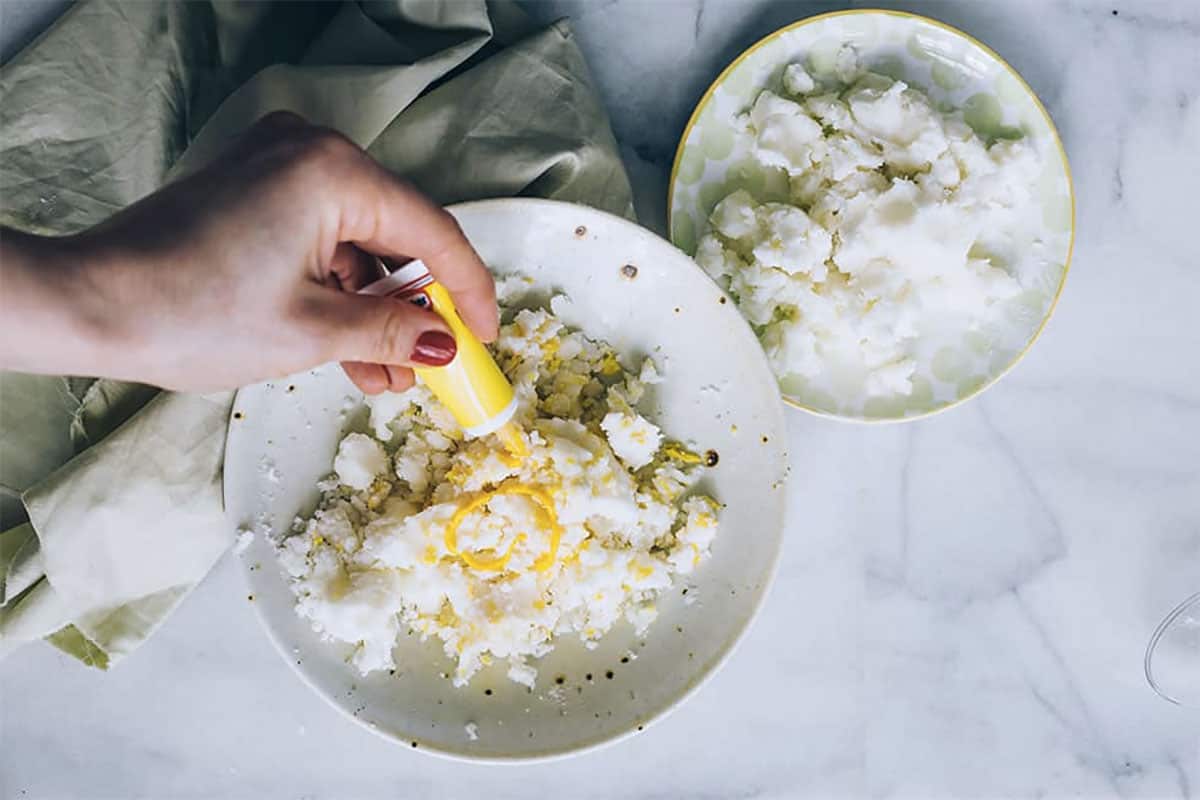
Add liquid slowly: Use a spray bottle to add liquid ingredients gradually, ensuring even distribution without over-saturating. A mixture that resembles slightly damp sand when squeezed should hold its shape perfectly.
Use a solid butter or oil: Coconut oil has become our go to ingredient for no-fail bath bombs. It solidifies as it cools, which helps hold the bombs together.
Include binders: For added stability, consider incorporating binders like kaolin clay or cream of tartar. These ingredients can significantly improve cohesion, resulting in bath bombs that maintain their integrity from mold to tub. As one Reddit user shared, “Adding kaolin clay on top of starch can make your bath bombs harder and less prone to crumbling.”
2. Premature Fizzing: When Bath Bombs Activate Too Soon
Reasons for Early Activation
Nothing deflates bath bomb enthusiasm quite like a premature fizz. This occurs when the chemical reaction between baking soda and citric acid is triggered before its grand bathtub debut. Excess moisture or humidity are often the culprits behind this untimely effervescence.
Preventing Premature Fizzing
Opt for witch hazel: To keep your bath bombs dormant until their big moment, consider using alternatives to water. Witch hazel or high-percentage alcohol can provide the necessary moisture without activating the fizzing reaction. As one experienced crafter advised, “Do not use water; substitute with witch hazel or high-percentage alcohol for spraying.”
Manage humidity: Some makers swear by using dehumidifiers in their crafting space or even briefly drying their bombs in a low-temperature oven. Remember, the ideal humidity for bath bomb making is at or below 40%.
3. Sinking Bath Bombs: The Floating Conundrum
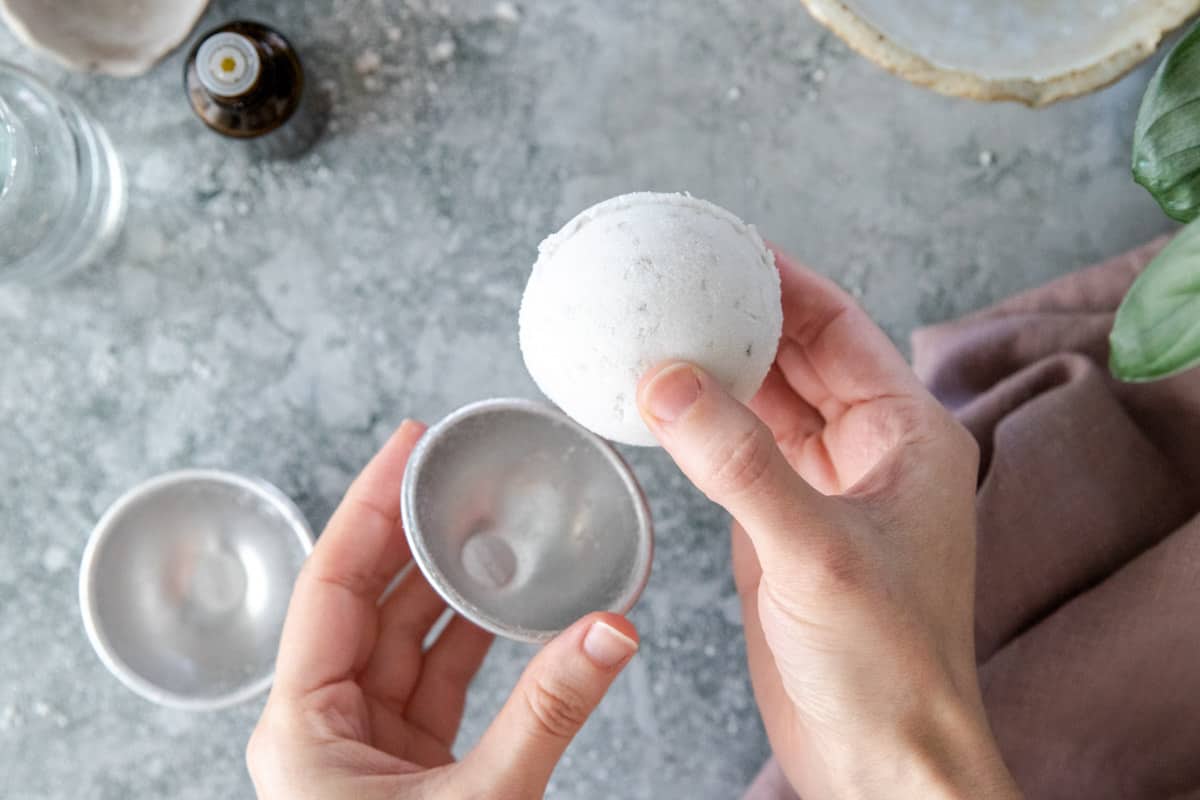
Factors Affecting Buoyancy
A bath bomb that sinks like a stone can put a damper on the bathing experience. Excessive oil content is often the anchor weighing down your creations. Additionally, overpacking molds can result in dense bombs that struggle to stay afloat.
Techniques for Buoyant Bath Bombs
Use lightweight oils: To create bath bombs that float and spin, adjust your oil quantities and opt for lightweight oils. One successful recipe shared by a Redditor includes “2 cups baking soda, 1 cup citric acid, ½ cup Epsom salt, 1 tablespoon lightweight oil, 2 tablespoon polysorbate 80, 4 tablespoon mica, and ~4 spritzes witch hazel.”
Don’t overpack: When molding, resist the urge to pack too tightly. As one expert advises, “Fill molds loosely without pressing down to allow bombs to float and spin.” This technique ensures enough air is trapped within the mixture to keep your bath bombs buoyant.
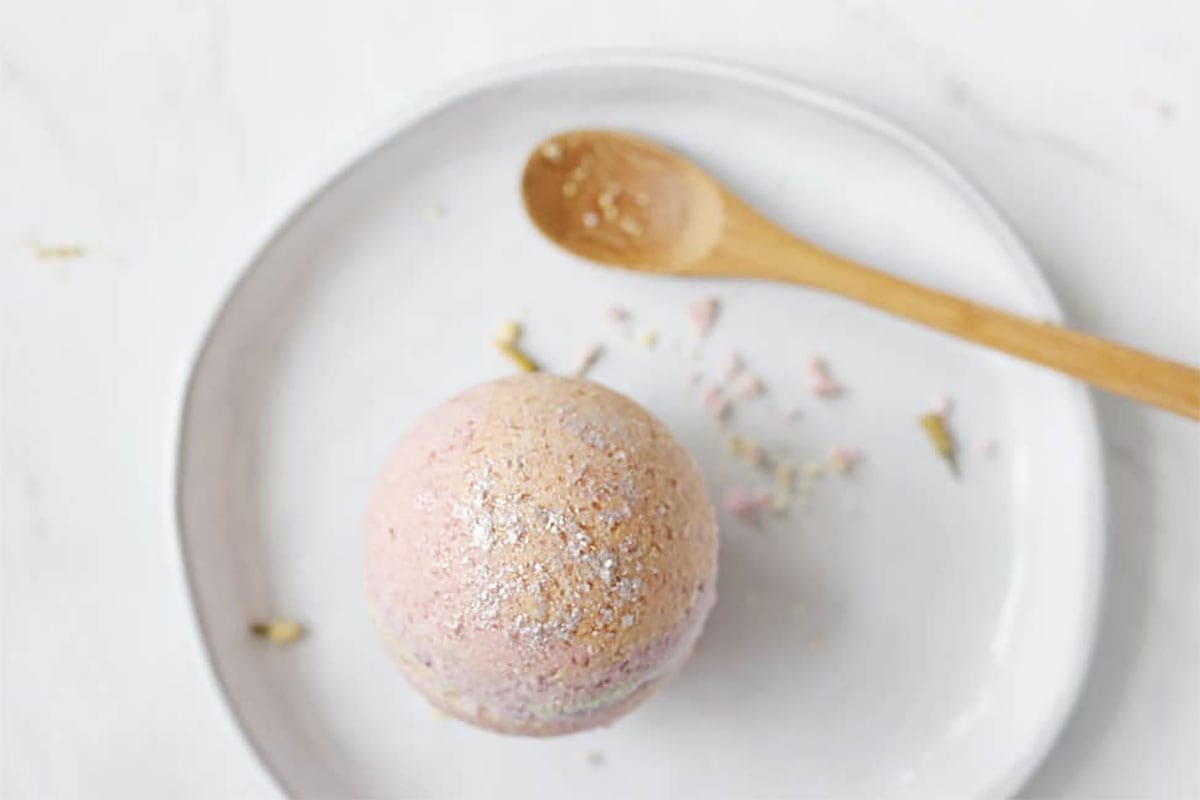
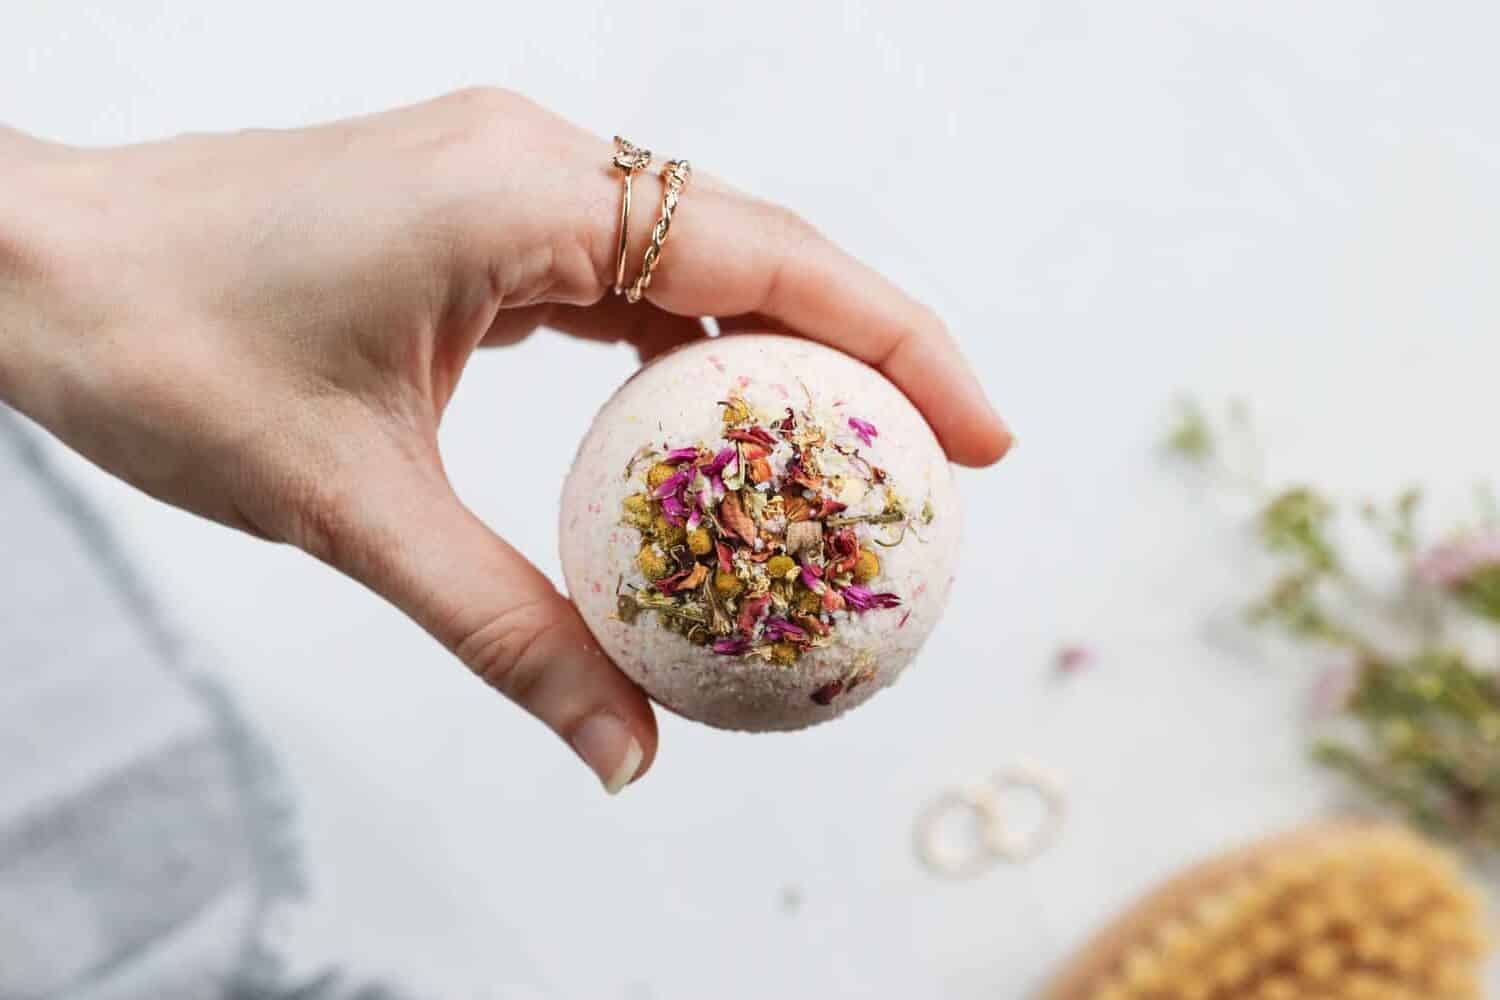
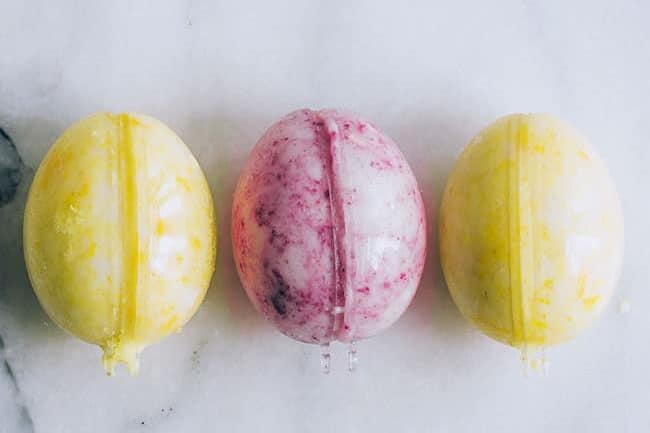
4. Color Bleeding and Staining: Aesthetic and Practical Issues
Causes of Color Problems
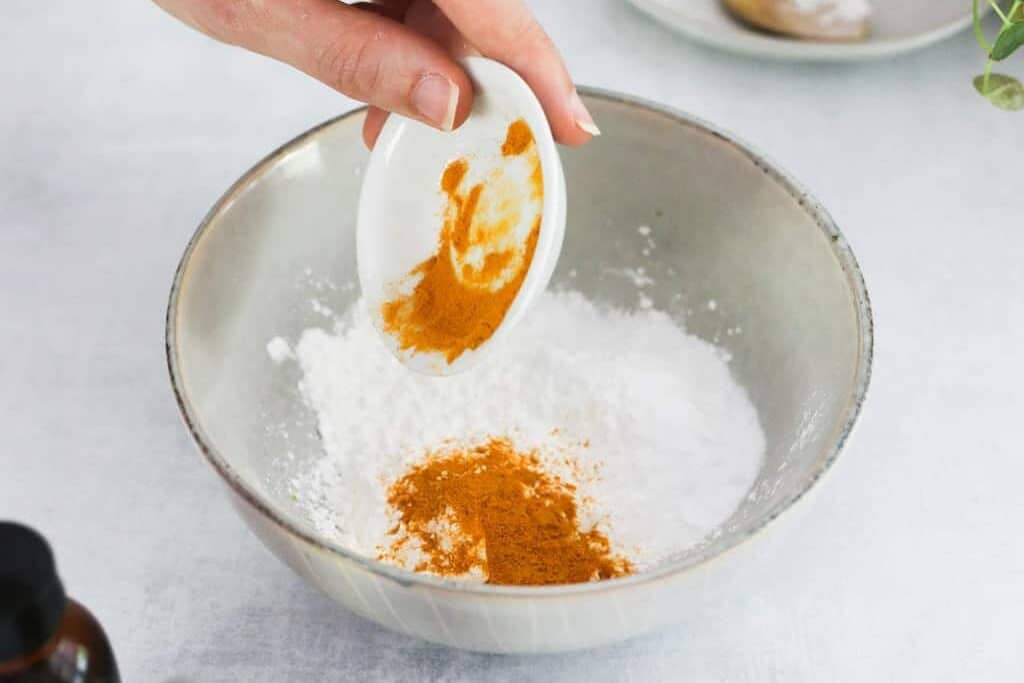
Vibrant colors can turn into a messy disaster if not handled correctly. Incorrect types or amounts of colorants can lead to staining of bathtubs and skin, turning a relaxing bath into a cleanup nightmare. Natural colorants, while appealing, may not perform as expected, leading to disappointing results.
Creating Vibrant, Non-Staining Bath Bombs
Pick the right colorant: To achieve stunning colors without the staining headache, opt for skin-safe micas or FDA-approved dyes. These colorants are specifically formulated for cosmetic use and are less likely to cause staining issues. One Redditor recommends a mix of “Red 28, Blue 1, and Yellow 5 from Nurture Soaps” for creating a variety of vibrant colors.
Bloom the color: Proper incorporation of colors is crucial. Some crafters suggest “blooming” the dye in baking soda before adding it to the bomb mixture for more even distribution and vibrant results.
5. Inconsistent Fragrance: Scent Fading and Intensity Issues
Fragrance Challenges
A beautifully scented bath bomb can elevate the bathing experience, but fragrance issues can be a real buzzkill. Scents may fade during the drying process or fail to release properly in the bath. Conversely, overpowering fragrances can be overwhelming and unpleasant.
Perfecting the Scent Profile
Proper essential oil usage: Understanding proper usage rates for essential oils and fragrance oils is crucial. A general rule of thumb is to use about 25 drops of essential oil per bath bomb, but this can vary based on the specific oil and desired intensity. As one experienced maker shares, “I typically prefer 20 drops for a strong scent.”
Layer scents: For long-lasting fragrances, consider layering scents or using fixatives. Some crafters incorporate dried herbs or flower petals that release additional aroma when the bath bomb dissolves.
6. Texture and Performance Problems: Achieving the Perfect Fizz
Common Texture Issues
The perfect bath bomb should have a satisfying fizz and dissolve at just the right rate. However, many DIY creators struggle with bombs that are too hard, too soft, or lack the desired fizzing action. Additives like Epsom salts or cornstarch can significantly affect texture and performance.
Perfecting Bath Bomb Texture and Fizz
Find the right ratio: Fine-tuning your ingredient ratios is key to achieving the ideal balance between hardness and fizzing action. A 2:1 ratio of baking soda to citric acid is common. You can add up to ¼ cup Epsom salts, but many crafters omit Epsom salts entirely, as they can affect the outcome based on humidity levels.
Fizzing additives: Experimenting with different additives can dramatically improve your bath bombs’ performance. For example, adding cream of tartar can enhance the foaming action, creating a more luxurious bath experience.
Creating the perfect bath bomb is as much an art as it is a science. It requires patience, practice, and a willingness to experiment. As you troubleshoot these bath bomb making issues, remember that even the most experienced crafters faced similar hurdles when starting out.
By understanding the underlying causes of bath bomb disasters and implementing the solutions outlined here, you’ll be well on your way to creating professional-quality bath bombs that fizz, float, and fragrance your bath time to perfection.
So don’t let setbacks discourage you – with each batch, you’re one step closer to bath bomb mastery. Are there any other bath bomb making issues you encountered that we missed?
References
