Today I’ll show you how to run power to a shed. I’ve done quite a few electrical videos, so if you need any other tips, check out my website!
Step 1: Locate the Breaker Box and Drill a Hole for an LB
This process could be use for anything in your yard that you want to get power to whether it be a pool, or an outdoor kitchen, or even a yard feature like a pond. Just consider if you have enough space in your breaker box and of course all your local codes. I’m comfortable tackling this project on my own, but if you’re not then there is never in any shame in hiring a professional. Lets go ahead and get started.
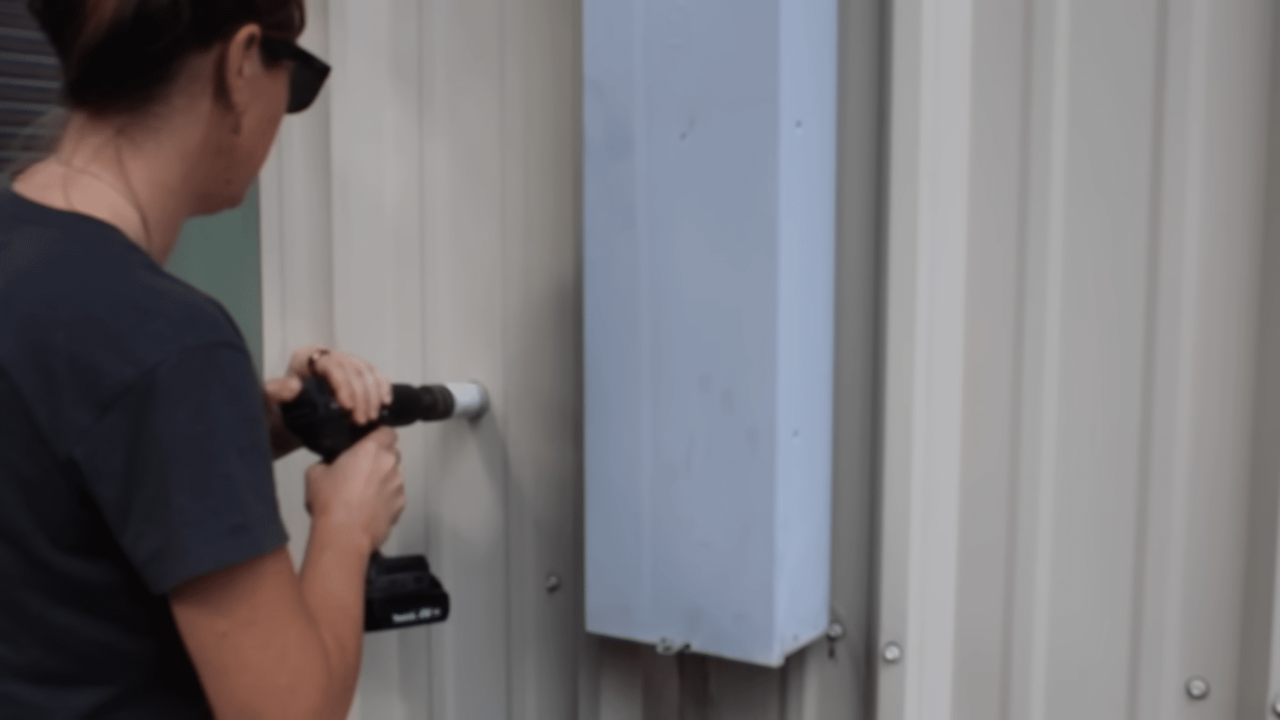
The first thing I need to do is locate the breaker box so that I can figure out a path to get to the outside of the building I am wiring. Quick change of scenery here but this is the outside of the wall I was just referencing. I’m using a hole saw bit the size for an LB fitting to go through.


Step 2: Placing the Conduit
To get to the inside, the piece isn’t even all the way through the wall. So, you can just cut a piece of conduit to get you all the way through. Know that they do make a different cement for electrical conduit instead of the regular PVC one that you’re used to. I’m going to be adding in an outlet so I’m going to be adding a straight piece of conduit and then put my outlet up high so that it’s easy to access. Then from the outlet I’m going to be going into another straight piece of conduit that will go down into the ground from the outlet, then go into a 90 degree fitting.
According to code, the sharp edge on the conduit is still too sharp. To get around that, you need to put on a male fitting to protect the wiring. After gluing the joints together, I secured the outlet box to the building, then also placed a strap near the bottom. A great thing about conduit is the flex it has so I used my boot to push it into the building as I was securing it.
The purpose of an LB is so that you can go around a tight corner in two steps rather than one, meaning you can take off the back, pull through your entire amount of Romex and then feed it back down. You can make this tight corner really easily.
Step 3: Trenching to Code
Okay lets talk about material you’re going to need for going in the ground and the depth of your trench. It all correlates to one another. In my case I am using a PVC conduit but if I were to use metal conduit I can get away with (by code) only going 6 inches into the ground. I didn’t want to deal with bending or anything like that so I went with PVC conduit meaning that I have to go at least 12 inches into the ground.
The minimum depth of my trench has to be 12 inches with the stipulation that a GFCI needs to be on the circuit somewhere. That is the reason I am adding an outlet. Not only is it handy to have outlets anywhere you’re going to be doing electrical work but it also means I can go the 12 inches whereas if i didn’t add a GFCI the minimum I would be required for my trench is 18 inches.
Just be aware that there are stipulations on how deep you have to go with your trench depending on what you’re using.
Step 4: Feeding the Power Line into the Trench
This line coming out is my Romex that’s coming in from the breaker box but now I’ll be feeding in my direct power line which is rated to be buried directly in this trench. I’m trying to feed it in with my right hand and pull it through with my left and I’m using my boot to keep the pipe down.
I fed through enough power line to go down the trench then whatever length to get me to where I would install my first outlet. Now that I have my wiring over here it’s the same song and dance. You need some sort of hole to now get you through to the inside for a LB to fit, again stubbing through to go all the way to the inside. From here, you have a straight piece of conduit and this will all be glued. Down here I’m going to have another 90 with that fitting in order to make sure that it meet code. Once you glue it up then you can feed it in.
Step 5: Securing the Power Wire and Closing up the Trench
A little prebend goes a long way. Also note they make lubricant for chasing wires and it really does make it easier. Again, taking off the back of the LB to make chasing this wire up and in quick and easy. I attached another clamp to the bottom of the conduit then buttoned up the back and called this project done.
Well, other than filling in the trench, which is the easy part. There. Like it never happened except it did.
I hope that you enjoyed watching this project, I’ll leave you a link in the description to the many other electrical videos I’ve done incase any of those are useful for what you’re doing. This is how you run power to a shed.


