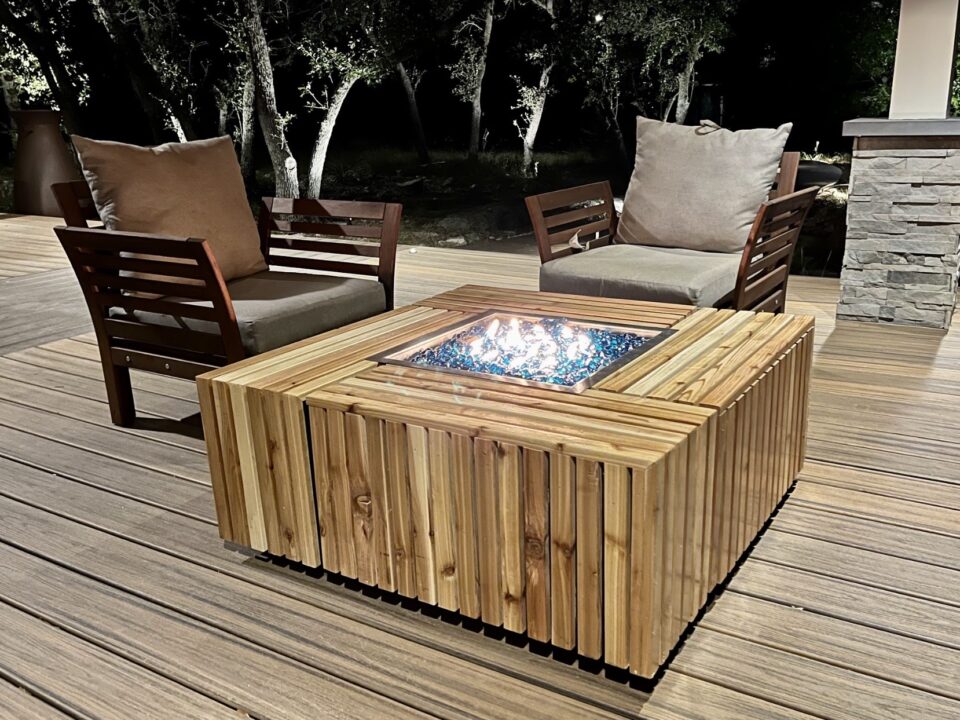
Who doesn’t like sitting outside with a good fall breeze and some crisp air? It’s finally time to start getting ready for fall, what better way than building a good fire pit. Grab a set of plans and follow along with this video so I can show you how I made mine.
Let’s Build a Fire Pit


DIY Fire Table Plans
$9.99
I’ve created a set of plans to make building this fire pit super simple and easy to follow.
Materials I Used for this Build
- Wood
- Wood Glue
- Saw
- Nails
- Brad Nailer
- Wood Finish
- Casters
- Fire Pit Plans
Step 1: Building the Fire Pit Frame and Assembling
The first thing I’m going to do is build a frame from 2x4s. This will be a big box to hide the propane tank needed to feed the fire. I intentionally bought a tank that can safely be laid down on it’s side so I could keep my table lower to the ground. By the way, if you want a cut list and dimensions of this table, I have a set of plans for it over on my website. If this table is too big for you, I also have a smaller version available
After using the miter saw to cut down a few 2x4s, I assembled them. I first lay out all my parts to do a dry fit. This way I can make sure it all looks right before sticking things together. Here I’m using exterior rated wood glue and a few screws on each joint. This is designed so that the top boards overlap the joints of the bottom boards. This will create strength but it also makes it quick to put together.


Step 2: Creating the Boxes Body
Next will be to sheath it, to put plywood around the frame to create the box’s body. Since this will be outside, I’m using an exterior plywood that is treated. I also painted the outside faces which you’ll see I’m making sure to attaching pointing towards the outside of the body.
This is because I plan to do a slatted design outside of this layer and wanted a dark color to be in between each slat. I’m attaching these sheets by first pre drilling then running in a screw along the bottom. Then also running in a screw to connect the top of the boards together. When going into thin wood like this 1/2” plywood, I switch over to using trim head screws like these here.
Step 3: Framing out the Top and Attaching it to the Body
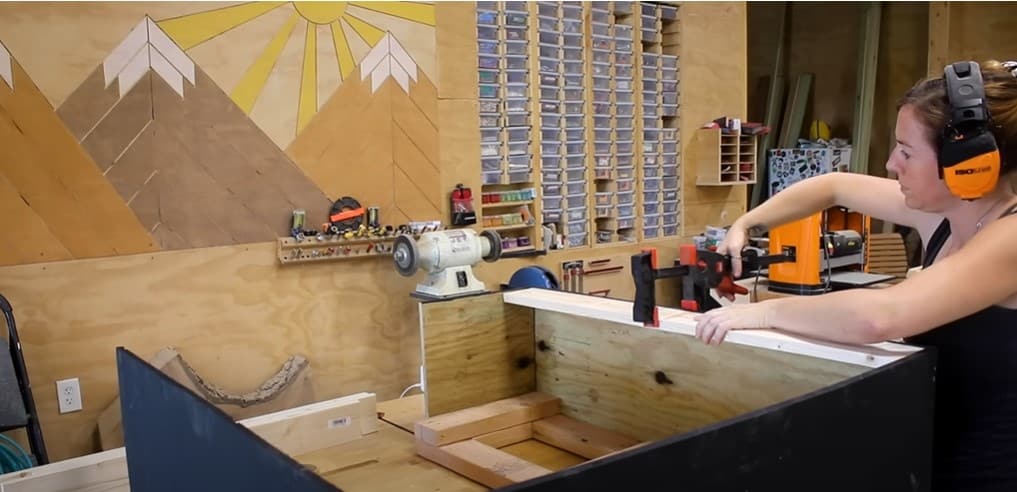
The next thing I did was frame out the top side. These members will give me support to secure the top in the next step. They can be tricky to add since there is nothing except the plywood to connect them to the bottom framing so what I did was use a clamp to hold it in place once I got it lined up to the top of the ply. Again using the trim head screws to secure it. I started with the two longer pieces then connected the two shorter sides in between.
Alrighty, now lets throw the top on. This is another piece of exterior rated plywood that I painted the top side of. The hole in the center will be where the fire tray gets inserted later. I lined it up to the body then secured it down by first pre drilling around the perimeter then running in some screws. All over I made sure to sink the heads of the screws so that nothing would prevent the slats that will come next, to attaching flush to the body.
I’m going to leave that as is for a bit and start making the slats that will cover it.

Step 4: Making the Slats to Cover the Body
For this part I’m going with western red cedar 1×4 boards. This is what will take this boring box and turn it into something gorgeous to look at. I started by taking my full length boards and ripping them to width at the table saw. I made the slats half the width so two slats could come out of one board. Now I’m going to go with a water fall look so that the top boards will miter over into the side boards. To achieve this, I turned my table saw blade to a 45 and used the miter gauge to
cut the boards to length. When setting up my fence, I place a clamp and a scrap board to act as a stop block. Notice how I place this far enough back on the fence so that the board will no longer be touching this scrap once it contacts the blade. If it contacts both at the same time, it creates a pitch zone which causes kickback. This is a fast way to make lots and lots of repetitive cuts.
To put the miters together, I use exterior wood glue once again then also reenforce the joint with a few 23 gauge brad nails. Nice and simple. Next I repeated that same process to create a whole bunch of them. Since the pattern is the same in all four quadrants, I could prep all the parts and have them staged on my workbench. This also gave the glue time to set up.

Step 5: Applying the Slats to the Fire Pit Body
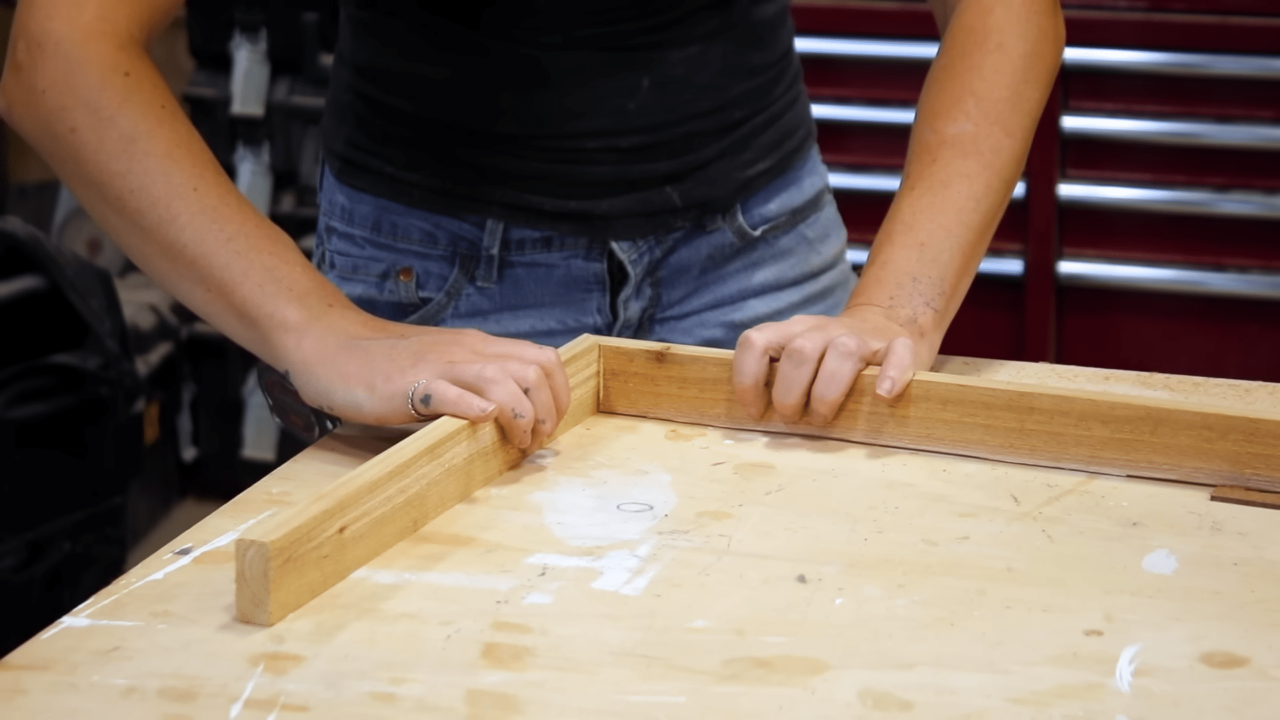
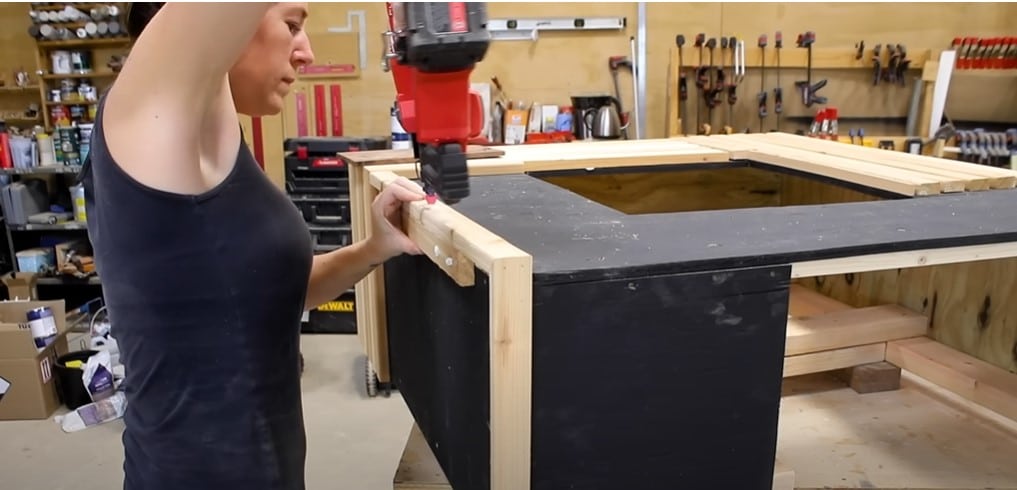
With that done, this next step will fly. Lets start applying the slats to the body. So the sides will have verticals that come up and meet the top slats. With that, I want the top covering the end grain of the verticals so I make sure to hold up a scrap to get the spacing correct. You can see I move it along as I work on securing that first board, but then after that the rest can get laid down with just a spacer. I also move this spacer along to make sure the slat is getting attached parallel the entire length of the board. See me using it on the top but also on the side.
My spacer is just a random scrap I found to be the size needed for the gap. When I get to the inside most slat, I hold it in place so that I can go to the inside with a pencil and mark the center hole opening. I think it’s easier to cut this now with a bandsaw but know that you can also attach it and cut it after the fact with a jigsaw or even a flush trim bit in a router. The fire tray with cover it so no need to make it super pretty.

Step 6: Creating the Propane Tank Door
I’m using a few streaks of DAP Dyna grip on each one of these before the brad nails. This is my favorite construction adhesive as it’s incredibly fast setting and works for both interior and exterior projects. You can see next I repeated much of the same process but this time with just straight vertical boards. These are butted up right to the underside of the overhanging top slat and I make sure to use the same spacer so things remain consistent.
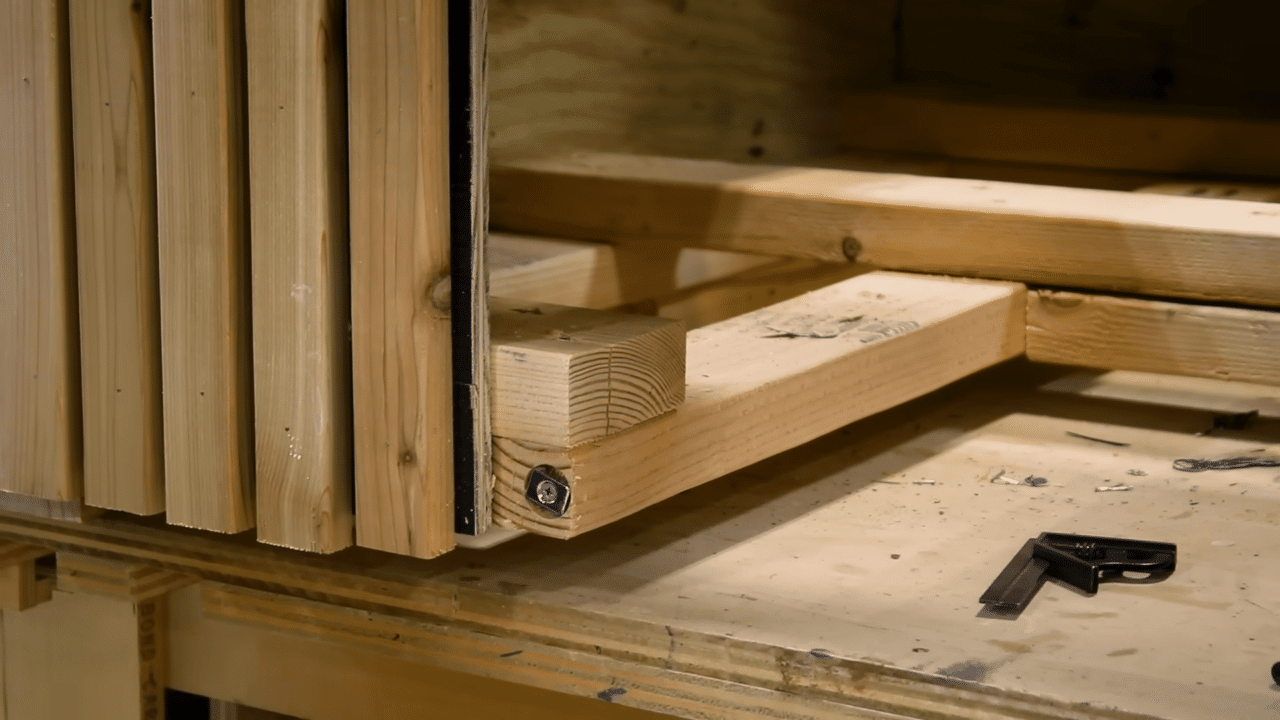
All these slats hang past the body slightly because I personally wanted casters on mine so that I can make this thing mobile when not in use. The overhanging amount will cover the added height. This big gap here will be a removable panel to allow me to access the inside propane tank. I’m using magnets here and attach them by counterboring into the framing material then screwing in a magnet.
Now I can attach a washer on a screw to the door on all four corners to correspond to these magnets. Once the door is in place, I could repeat the process of attaching verticals to make it disappear into the body.

Step 7: Applying Finish to the Fire Pit
Lets go ahead and put a coat of finish on them to really see them pop. In order to get in all the nooks and crannies of the sides of the slats, I’m spraying on my finish but you could absolutely just roll or brush it on instead. I’m using my Wagner HVLP which makes very quick work of this step. For a finish I’m going with the Total Boat Gleam 2.0 as it dries quickly, does a great job at leveling out on it’s own, and what I most like is that it has UV resistors in it so this cedar will hold up even though it will be outside.
Step 8: Adding Casters to Make the Fire Pit Mobile
Oops, If forgot to show you when I attached the casters. But back after attaching all the slats, I tiled the box over and screwed on a few casters which is what is allowing me to rotate this thing around to show you all sides.
I personally like the idea of it having casters on it because it will only be getting used during the winter months but for the summer months, I like the idea of pushing it out of the way and using this space for something else. Once I picked out where I wanted my fire table to be I started loading in the appliances to make it work. The tray slips right into the center opening and comes with pretty simple instructions on hooking it up to a propane tank.
You can’t lay a normal propane tank on it’s side so if you build one of these you either need to redesign it so it can stand upright or buy one that is designed specifically to be laid over.
Step 9: Finishing details! Adding Rocks, Chairs, and Drinks!
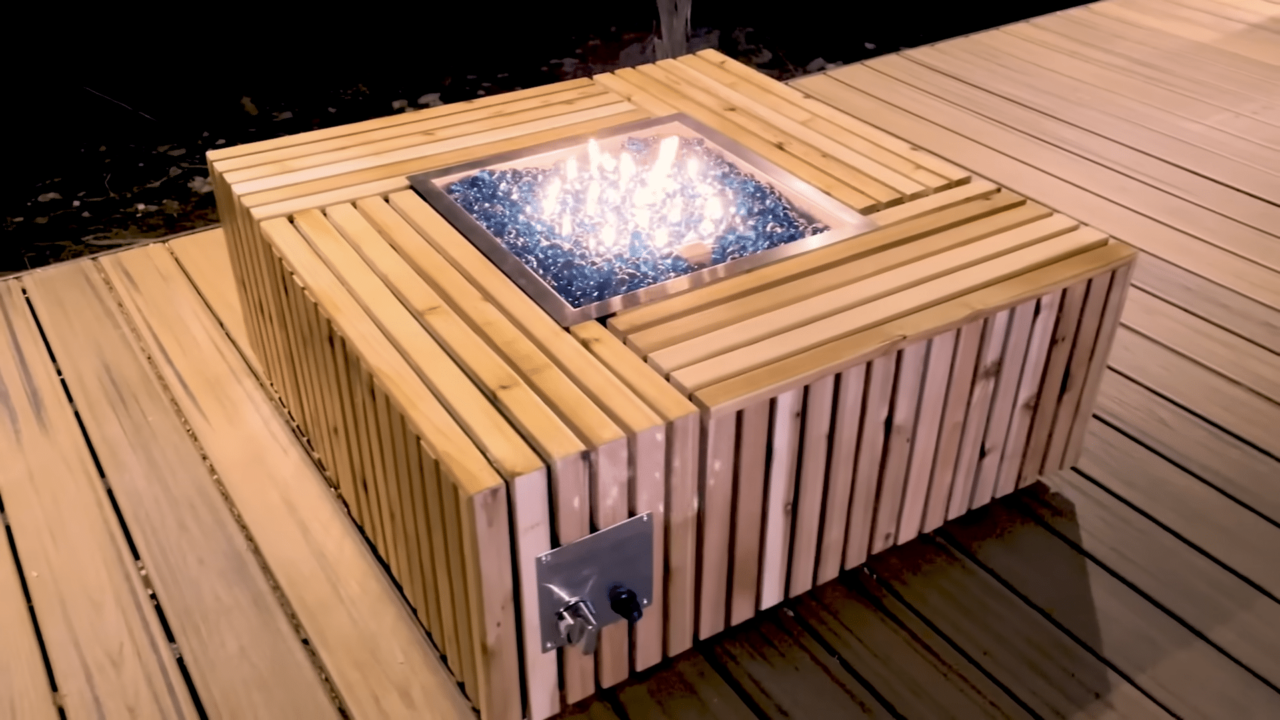
Now I need to fill it with rock, grab my portable chair, and a drink and enjoy. As you can see there is plenty of space for company to join me and also plenty of space to set drinks or a plate of food on the unit itself. However remember that I have plans for this larger unit but also a more compact unit if you’re interested in building one yourself.

Conclusion
If a fire pit has been on your to do list then I hope this video has given you some good inspiration to tackle it this fall. Be sure to check out my website for a set of plans for this build as well as several others. I’ll see you on whatever I’m building next.


