I’ve been messing around with different generative AI apps, just like many of you. I’m trying to figure out how I can use them in my job and also get really good at using the various AI tools. Because I create online courses, I’ve been working on making my own illustrations that work well.
In a previous post, I shared some tips based on things I’ve learning using AI. I am using Midjourney for my examples, but there are a lot of tools out there for your initial experimentation.
Here are some tips I’ve picked up and how I make those free illustrated characters that I share on LinkedIn.
It Starts with Prompts
The secret to getting the right images is based on the prompting. The challenge with AI is that you never know what you’ll get and when you get something that you really like, you may not get it again.
- I start simple and don’t try to overstate or be too descriptive initially. And then I work from there.
- I also look at what images people share in the AI community and when I find something I like, I try their prompts to see what I get.
- For prompts, I mostly use a character, an action, and then the style. Depending on what I need, I may add a location or something to provide more visual context.
The Character
There is a lot of bias built into the AI language models. For example, if I type in businessman, 99% of the time it will be a white businessman in a suit. Why white? Why a suit? That’s something you need to account for as you create characters.
Regardless of the bias, I start with something generic like businessman. That usually gives me a white guy in a suit. But that’s OK to start. Once I get the right look, I modify the descriptor. Some tips to get better initial characters:
- Instead of just “businessman,” use an age to see what you get. I find 40-year-old is a good addition.
- It doesn’t matter what you get, the main point is to see if you can come up with something consistent.
- There are a lot of good videos now on how to write prompts. The more you practice and play around, the better you get.
- At some point, I call it good and move on. My goal is to find a simple way to get a good enough image. Playing around in AI for hours (or days…which will happen) is fun, but not something I can afford to do for long.
As you can see in the images below, you get some pretty decent initial images to start. I can work with these.

The Action
Describing the action is where you get the pose you want and can use. I keep it simple.
- I like to insert “gesturing” as part of the prompt. It gives me more varied arm positions.
- Add an emotion or state-of-being such as “confused” or “angry.”
- I also change the pose and may use “arms crossed” or “hands on hips.”
- Play around and see what you get.
You’ll notice how the images change based on a few simple words.

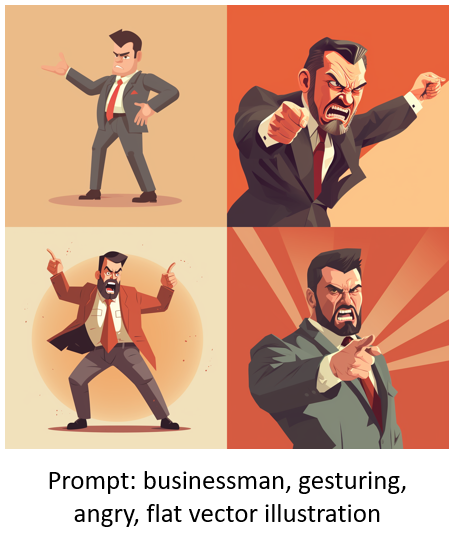
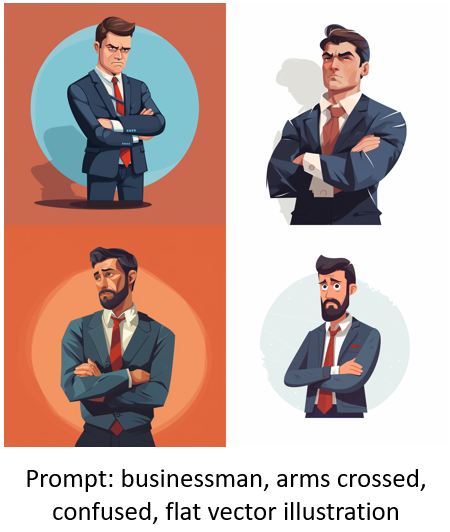

As you review the images above, you’ll notice that the styles change quite a bit. You’ll also notice that you may not get the pose you expect. For example, “hands on hips” includes arms crossed. “Arms crossed” aren’t full body poses. That’s something you have to live with.
As you practice and get to know how to write prompts you will be able to design more consistent styles.
The Style
As mentioned above, getting a consistent style can be tough. A lot of it will come down to how you write prompts and the feel you get for them as you practice.
- For illustrated characters, I want a similar style and no background so it’s easy to clean up.
- My default prompt style is “flat vector illustration” because that works well for a lot of e-learning course design.
- It also works consistently most of the time. And even if the illustrated characters aren’t the same, they often are close enough to use together.
- I do play around with unique style descriptions. For example, I will state “in the style of [add descriptor].”
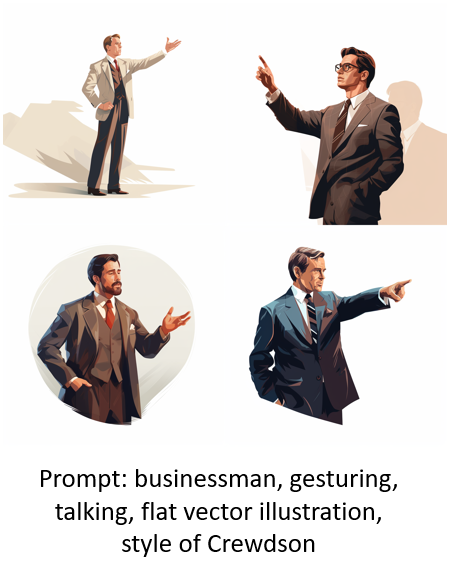
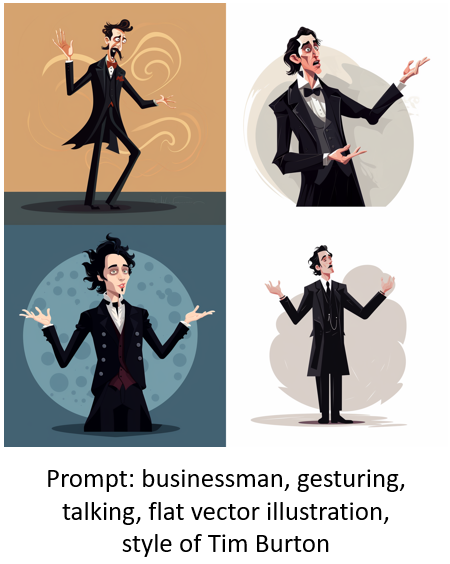
As you review the images above, you’ll notice that adding a style description to the “flat vector illustration” starts to provide a more specific style that gets closer to consistency.
Bonus Style Tip: Getting Rid of the Background
The AI image is just the starting point. Often you may have to do some edits to hands, faces, etc. One of the main things is getting a transparent background so that I can place the image where I want it.
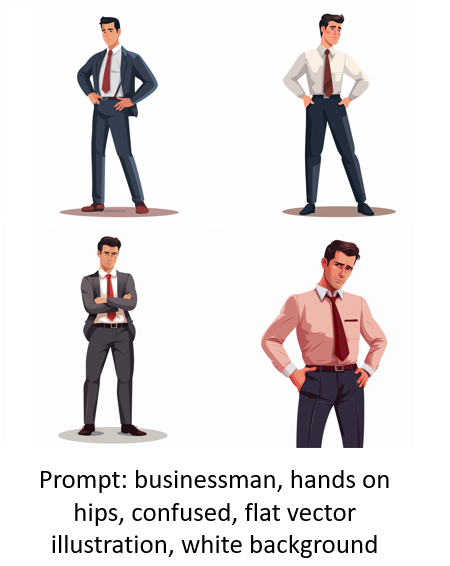
To get as clean a background as possible, I add the prompt: “white background.” That works 90% of the time. The image below is the same “hands on hips” prompt as above with the addition of “white background” in the prompt.
Overcoming Bias with AI
As I noted above, there’s built-in bias which can include things like gender and race, but also style of clothes. You can mitigate some of that by changing the descriptor. Once I get an image style I like, I will start to add additional descriptions to get more diverse characters. In no time at all, I have a diverse set of characters from which to build.

One thing to consider is your own bias. For example, I may look for a specific image and then assume that it works because of how “I see” that character and what it should represent.
Those are some of the basic tips to get started creating your own characters with AI. In a follow up post, I’ll share my secret sauce and what I do to speed things up and how I edit the characters.
Don’t forget to download the characters I’ve already added. I’ll be adding more, so keep your eyes peeled.


