This Post May Contain Affiliate Links. Please Read Our Disclosure Policy here
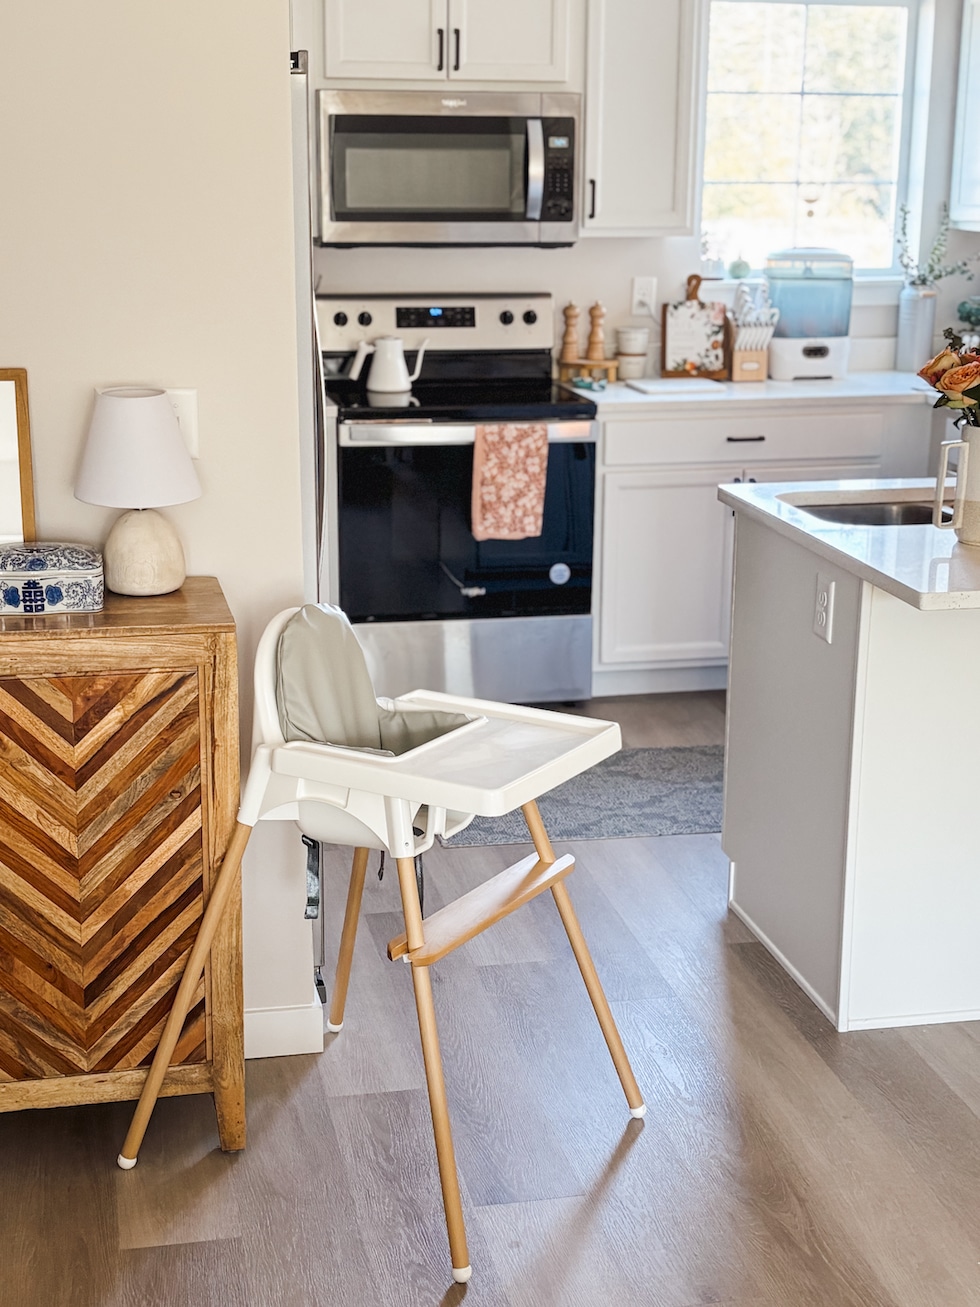
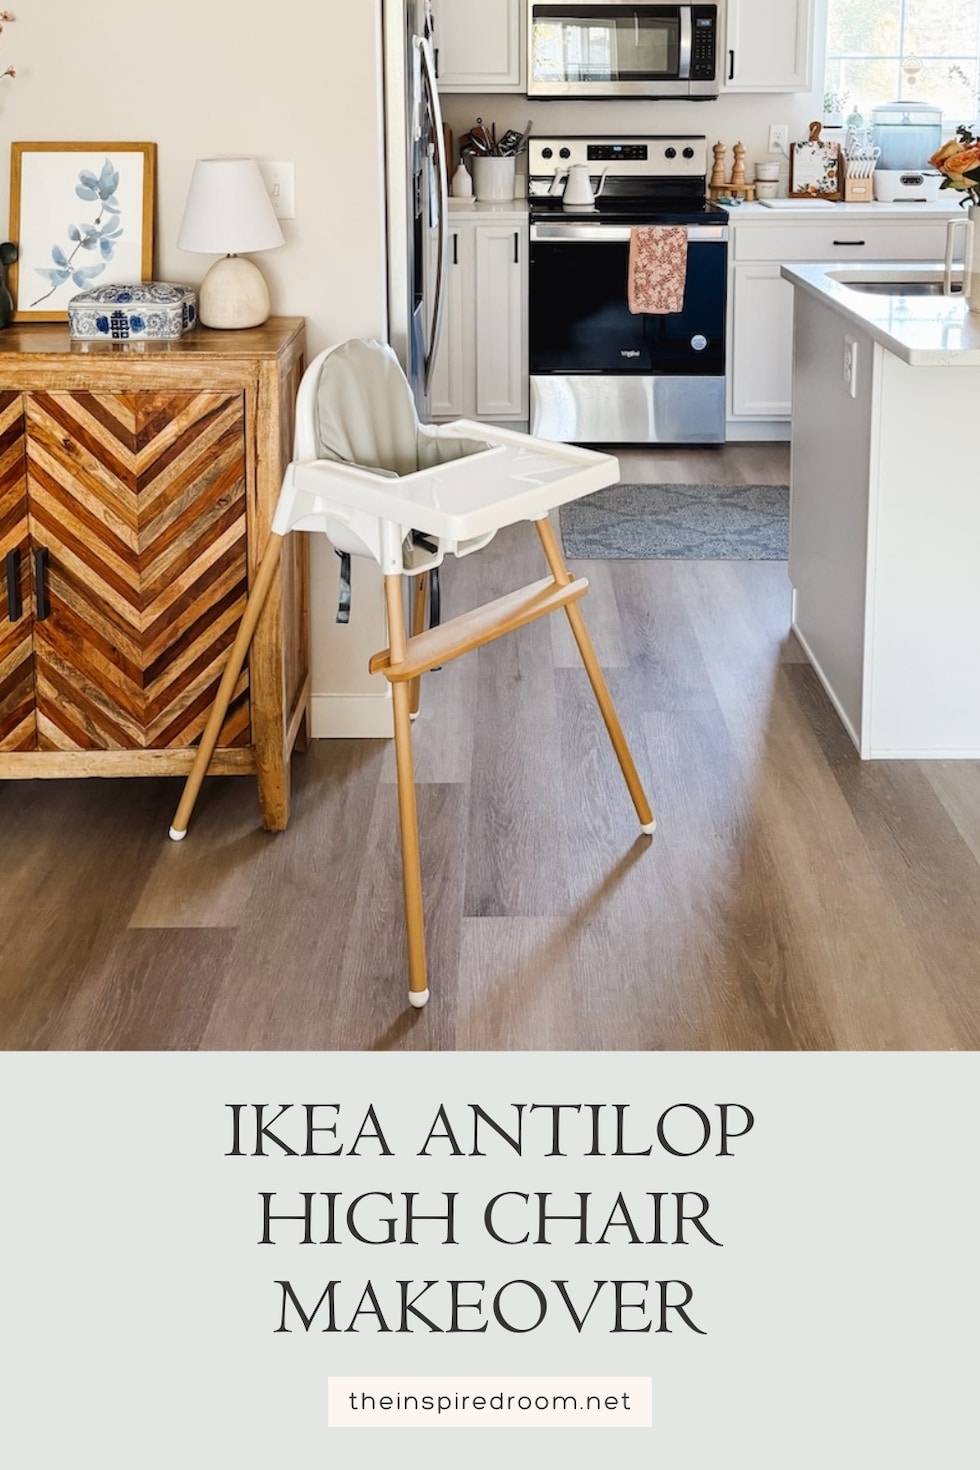
Hi friends, it’s Courtney here today! My husband and I recently purchased the Ikea Antilop high chair for our baby. It was very affordable (only $19.99) and popular among our parent friends. We got inspired to do a little makeover to give it a higher end look!
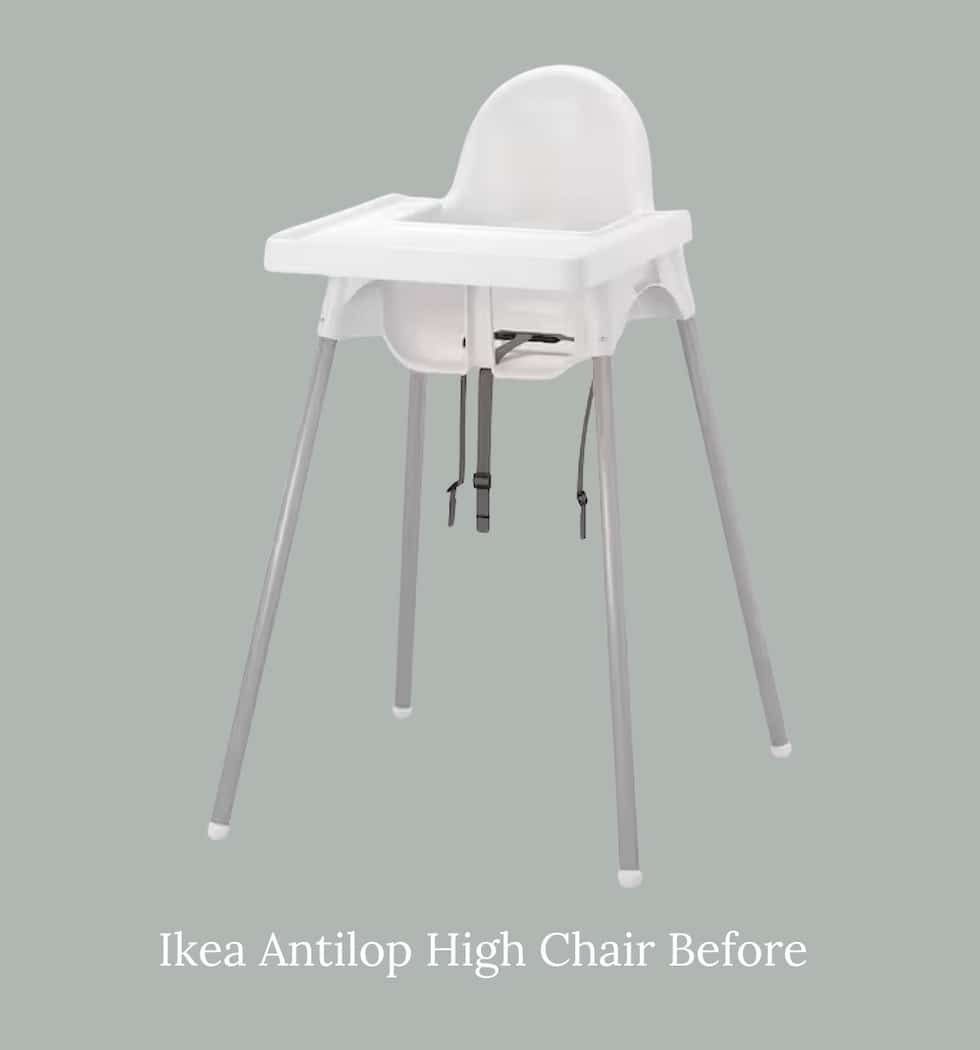

Here is how it looked before. Not bad, just very simple!

Ikea Antilop High Chair Makeover (Simple Hack!)
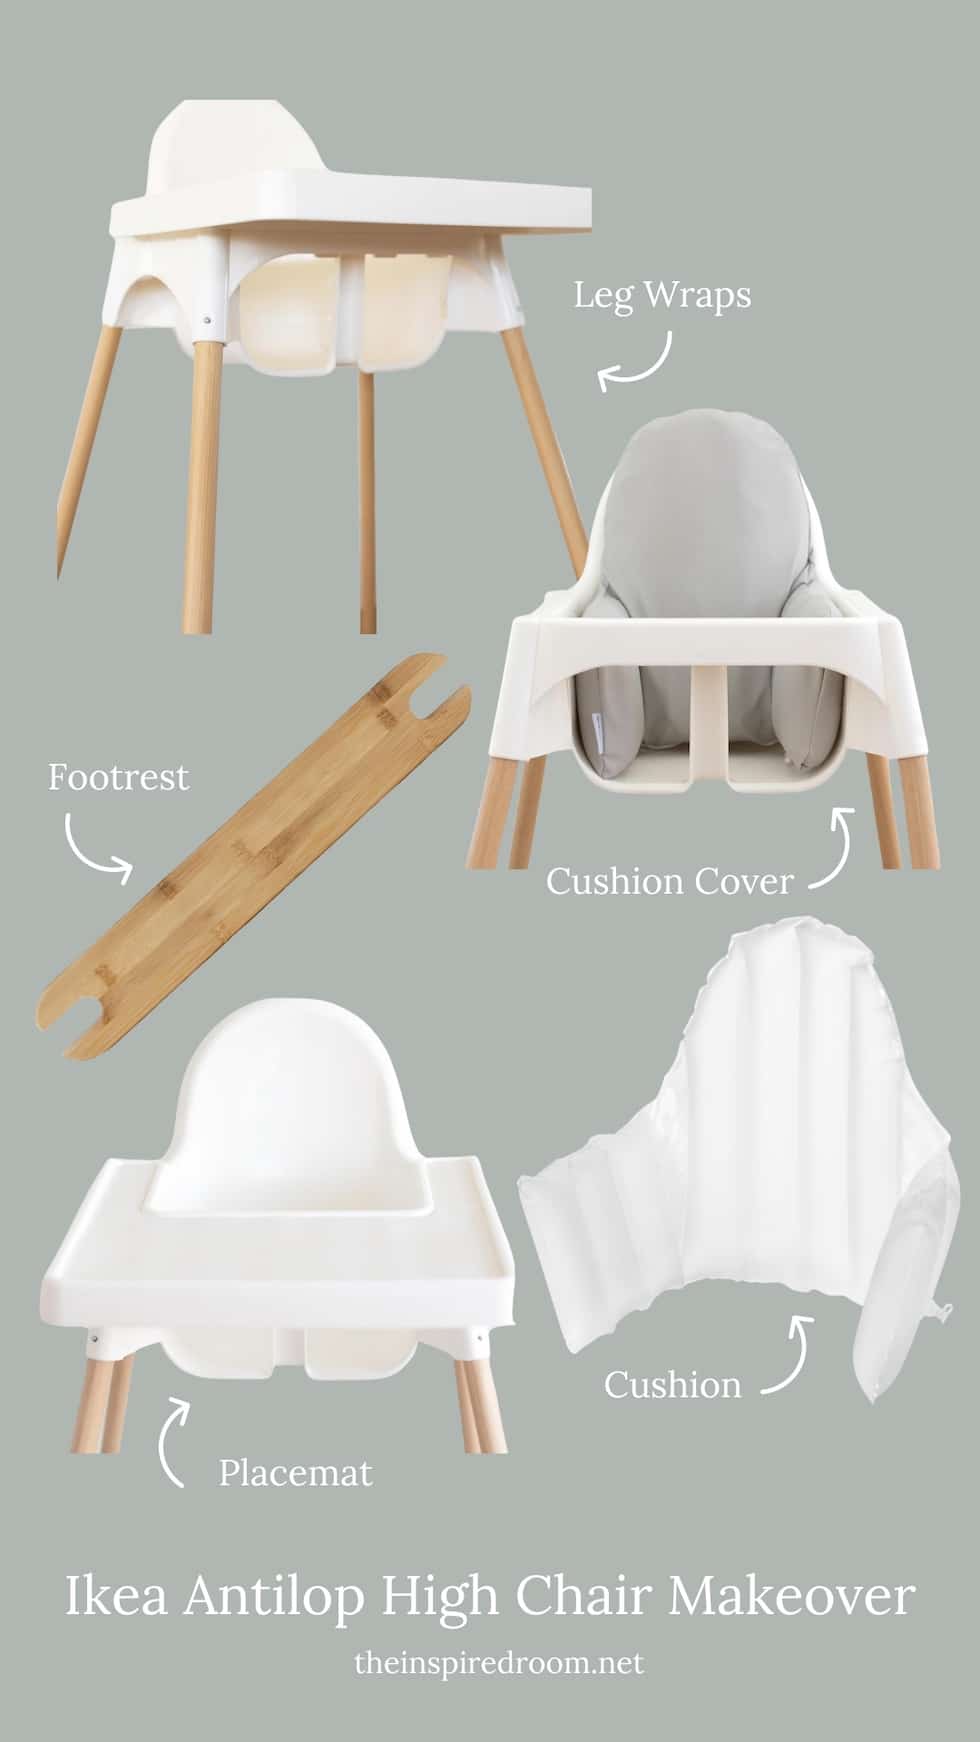
Here is everything we got for the high chair makeover:
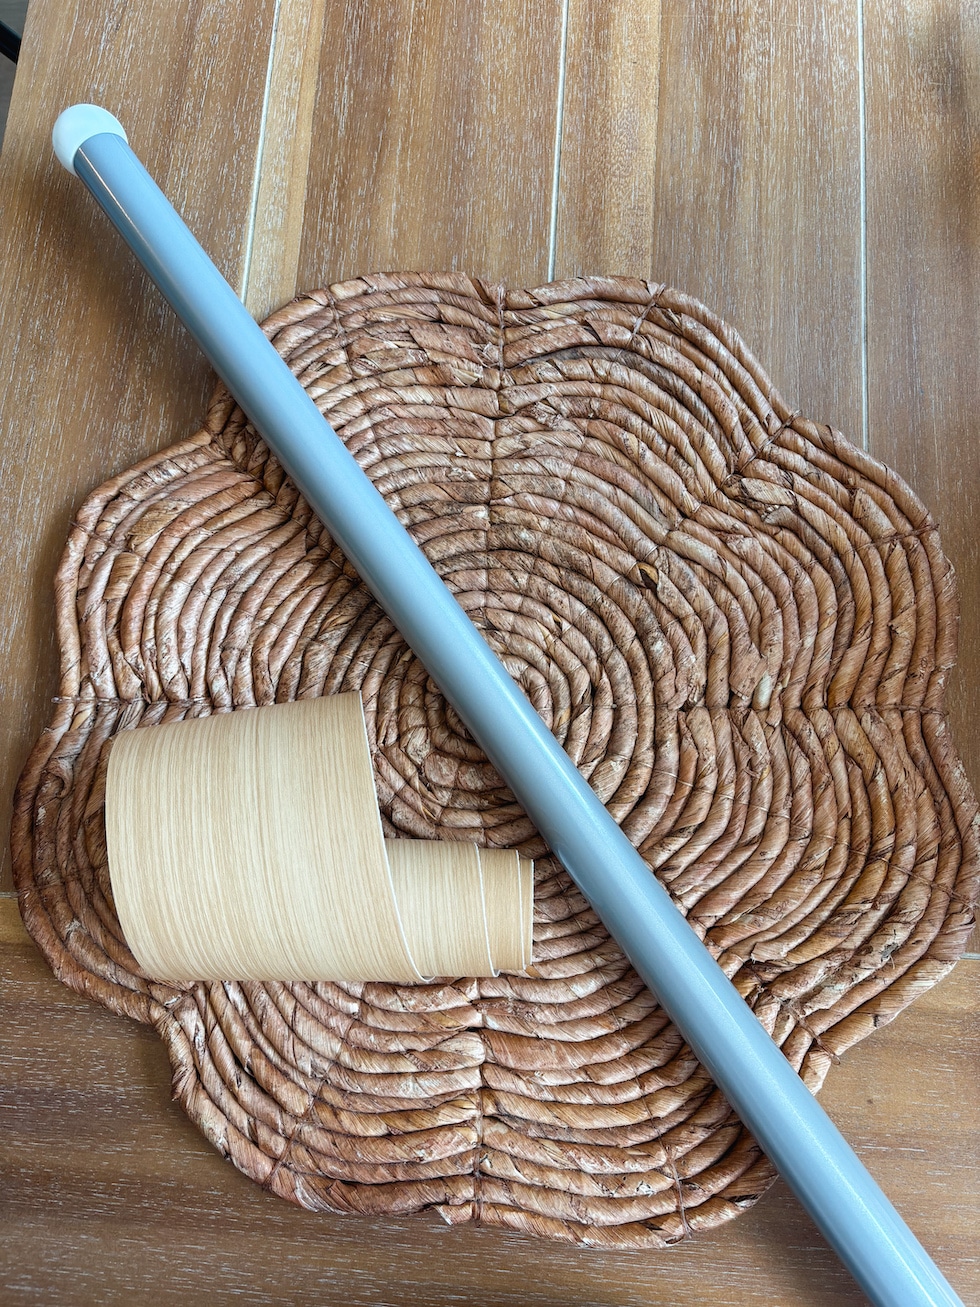
- These wood leg wraps in the bamboo color (I like this color but in hindsight I may have liked the walnut option even better in our home!). These are cut perfectly to size to fit the Ikea Antilop high chair legs.
- This wood footrest in the bamboo color. The biggest downside we had heard about this high chair is that it doesn’t have a footrest, but this one easily attaches and is adjustable as baby grows!
- This support cushion
- This wipeable vegan leather cushion cover (we got the sage color which isn’t sold anymore but there are several cute colors/patterns here…I love that adorable watercolor fruit one!)
- This silicone placemat in the coconut cream color (many color options) that fits perfectly within the tray

Now, let it be known that I follow in my mom’s footsteps of not being much of a DIY’er. 
Well…one day during my son’s nap I thought I could quickly get this project done. In my excitement, I learned that wrapping a long cylindrical shape with incredibly sticky paper could indeed go wrong if done too quickly, ha!
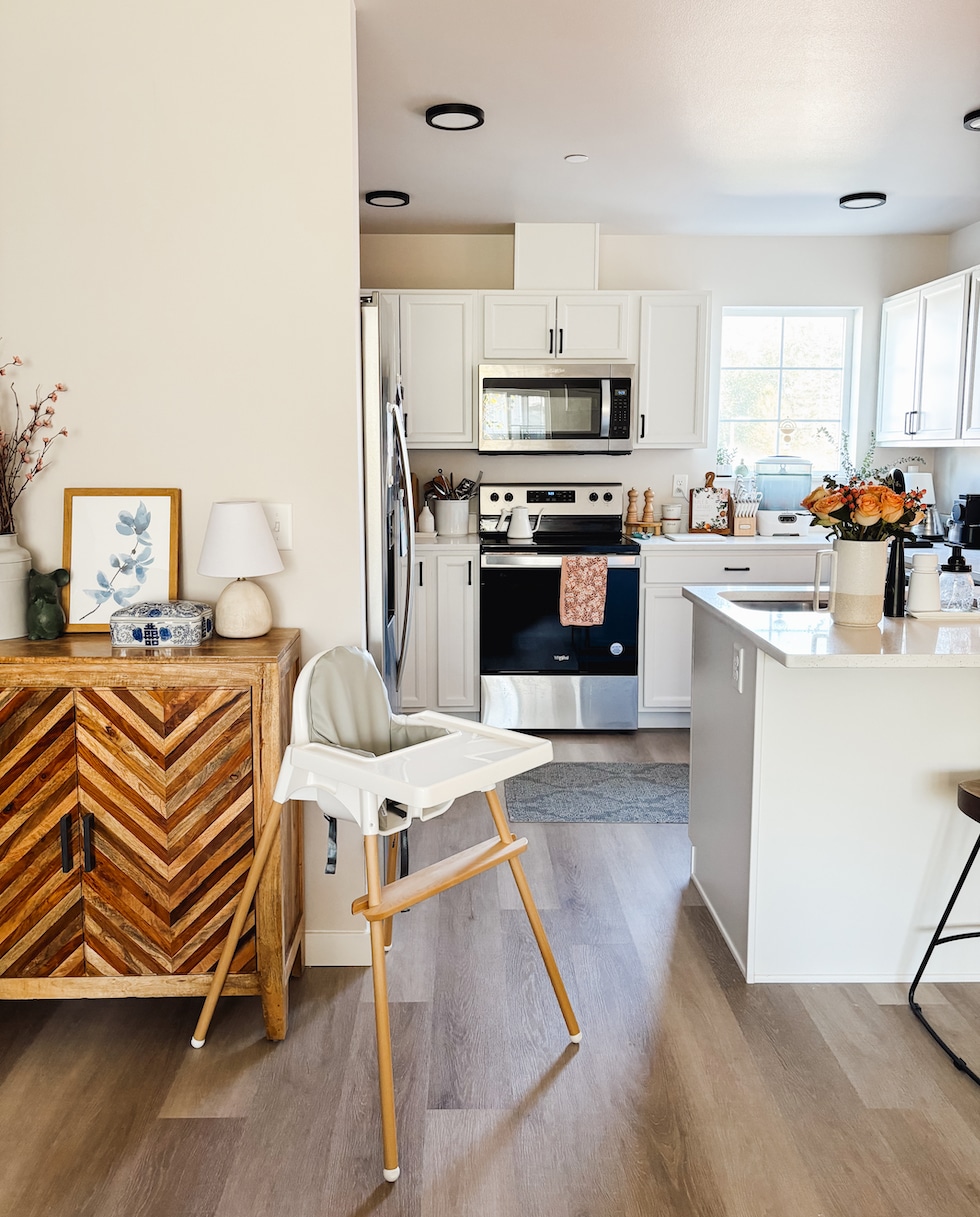

My first leg’s sticker started to stick on the leg in *ways it shouldn’t* but once it started sticking, there was no turning back. I was either going to get it incredibly crumpled up and ruin it, or I was going to need to stop, cut part of it off, start sticking it again and hope I could salvage it to look halfway decent. Somehow I managed to do that and now I don’t even notice the flaws (I just don’t look too close and put that leg in the back, ha!). After that little mishap I figured out my technique, every leg got easier, and my last one was PERFECT! Ha!
Anyway, I promise this is an easy DIY. Just watch the instruction video it comes with, take your time and all will be well.
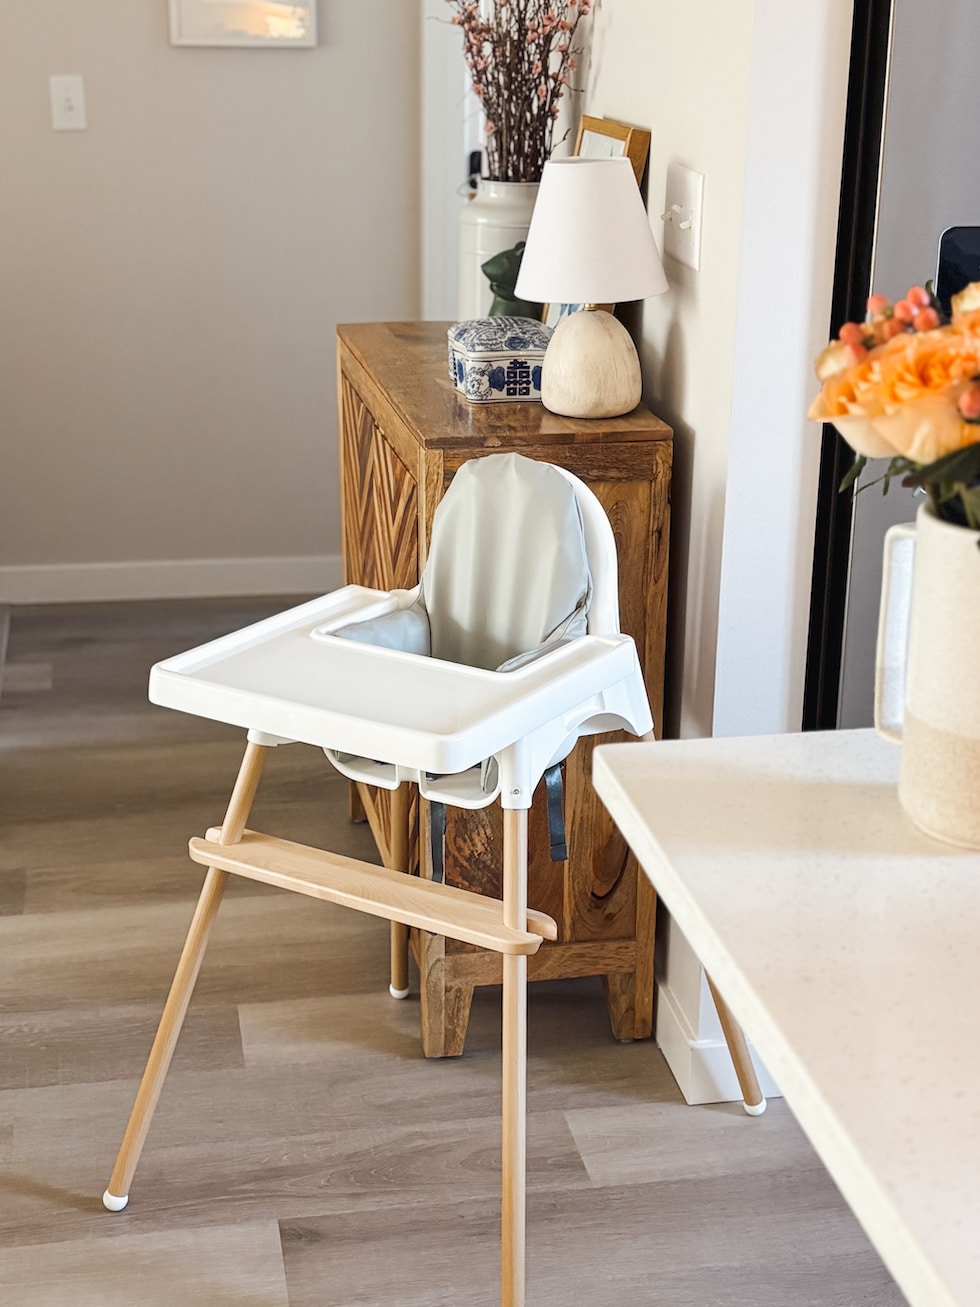

The footrest is a great addition. It keeps babies in an optimal position for eating (rather than daggling feet!) and it helps keep them focused on their meal and happy in their chair.
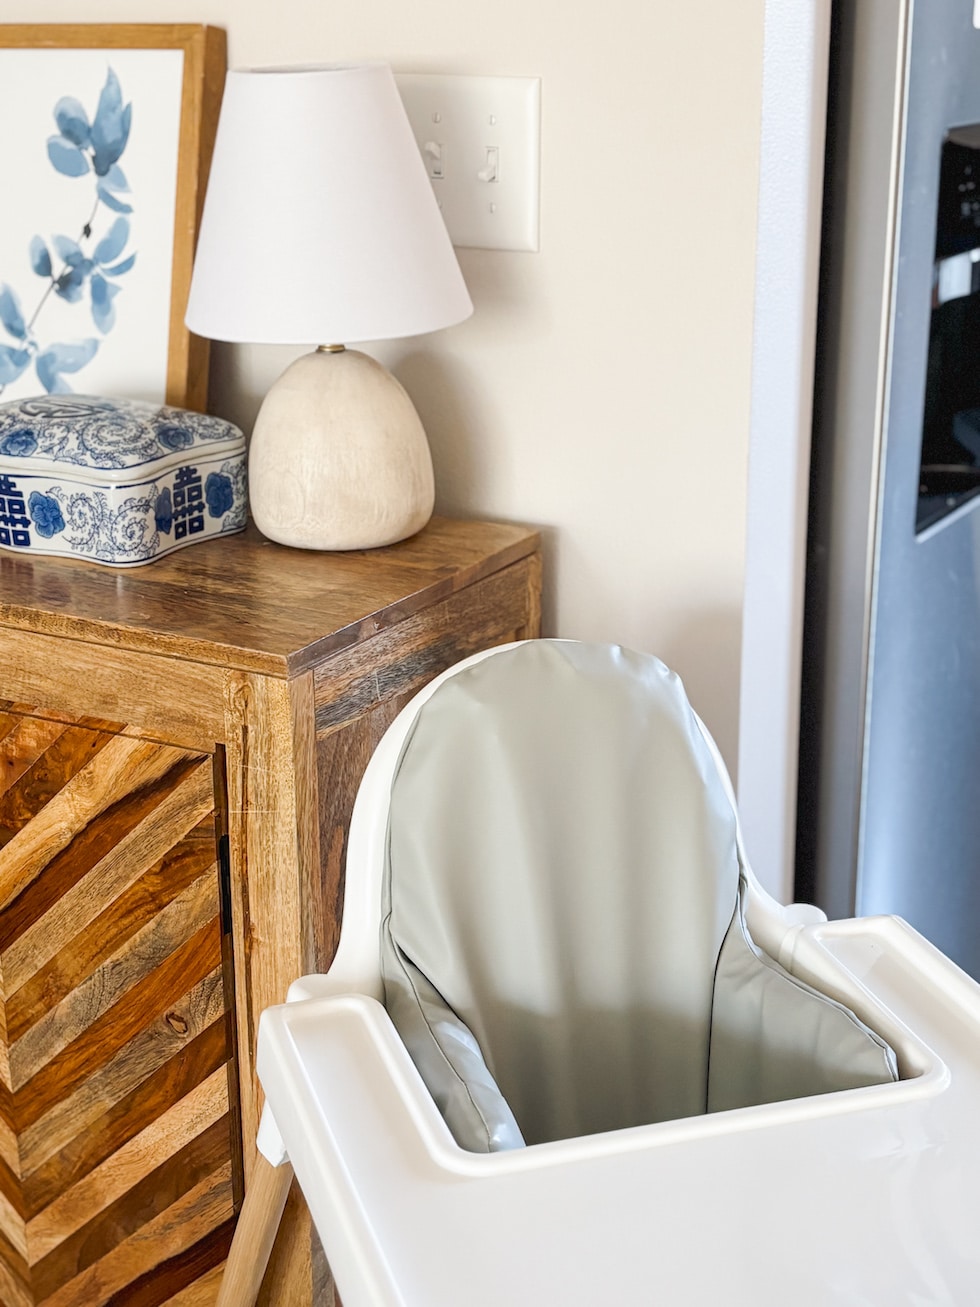

The cushion helps to provide support for baby’s back and hips and keeps them in a safe feeding position. It also helps them sit further forward so less food ends up in their laps! It’s super easy to wipe down clean.
I’m very pleased with how this makeover turned out! The end result reminds me of this popular more expensive high chair. The original Ikea version really wasn’t bad to begin with, but I love that now it’s actually a cute piece of furniture that fits in so nicely with our other decor. I’m glad we did it!
More of My Recent Posts:
Baby Registry Essentials (Our List, Recommendations and Tips as First Time Parents)
Courtney’s Baby Boy Nursery (Rental & Budget Friendly Nursery Ideas)
You can see more of my blog posts I’ve shared on The Inspired Room (including apartment and house tours, my wedding and more) here.
Follow me on Instagram here, I love to share bits of my life and home in stories!
